How to Install Stable Diffusion Locally (Windows, M1 Mac, Ubuntu)
Unlock the power of AI-generated art with this in-depth guide on installing Stable Diffusion. Learn the secrets of setting it up on Windows, Mac, and Linux. Dive in now!
Since its 2022 release, Stable Diffusion has revolutionized the way we think about digital art creation, enabling users to generate high-quality, detailed images from simple text descriptions. This technology is not just a tool for artists; it's an open gateway for anyone to explore the realms of creative AI
Images Generated by Stable Diffusion AI
But how do you run Stable Diffusion locally? Don't worry, this article is your ultimate guide to navigating the installation process, ensuring you're ready to embark on your AI-assisted artistic journey. Whether you're using Windows, Mac, or Linux, you can simply follow the step-by-step guide without any hassle.
💡
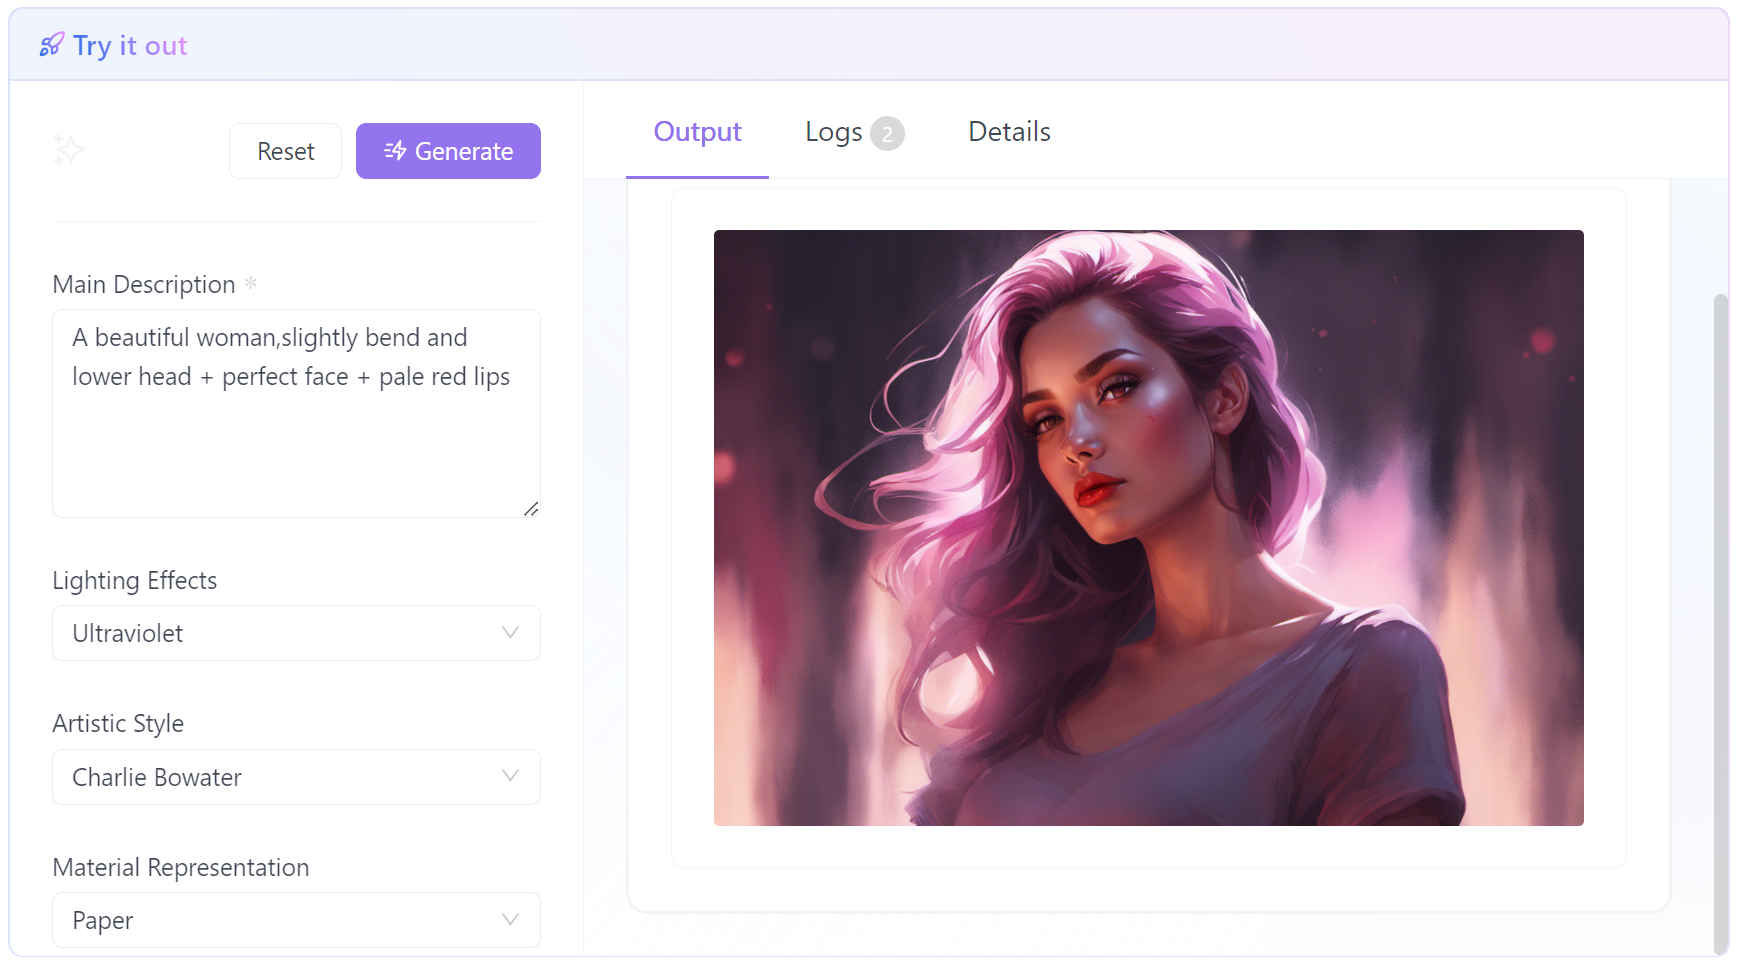
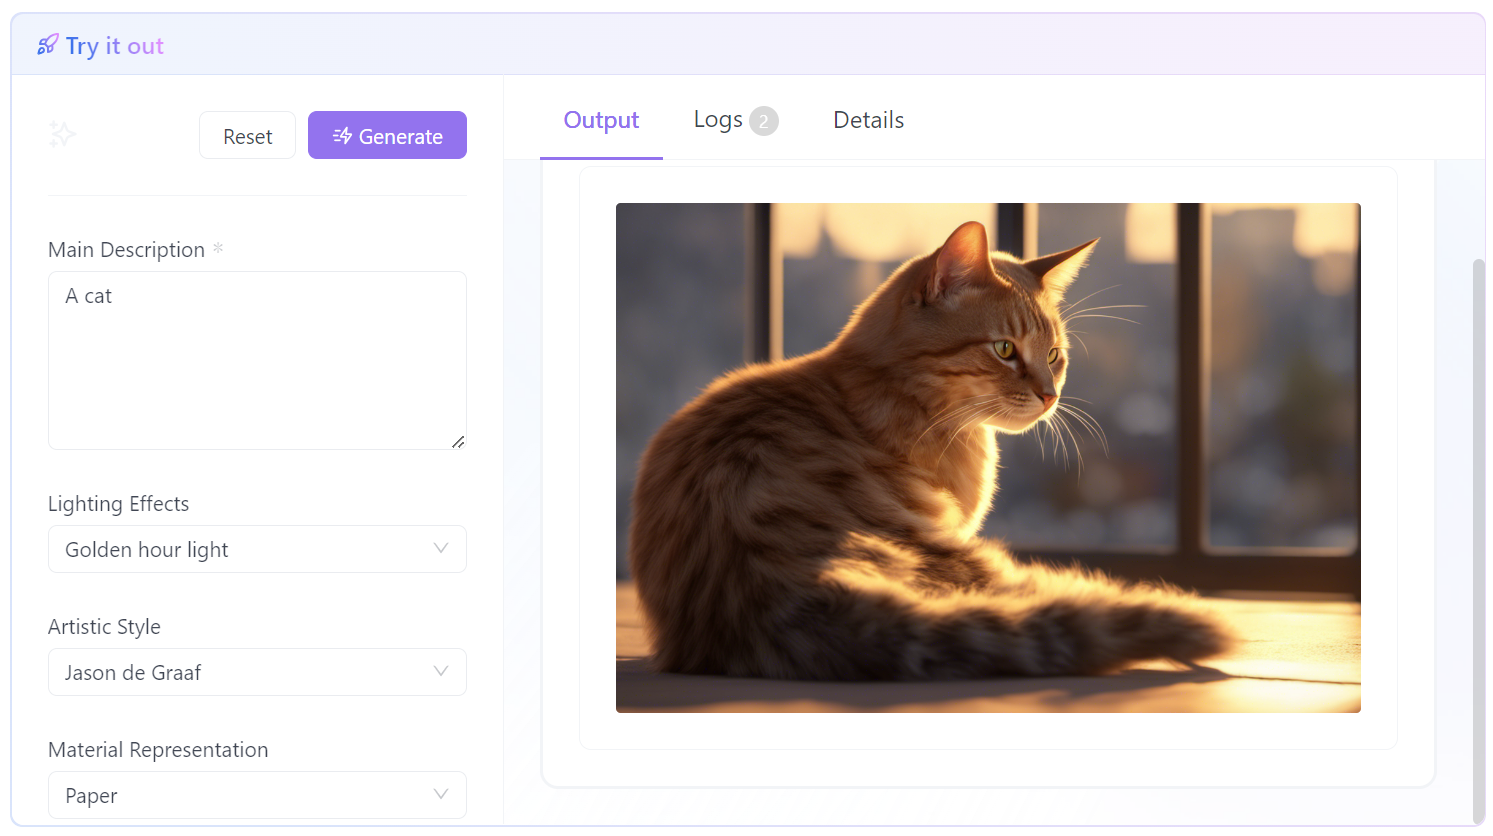
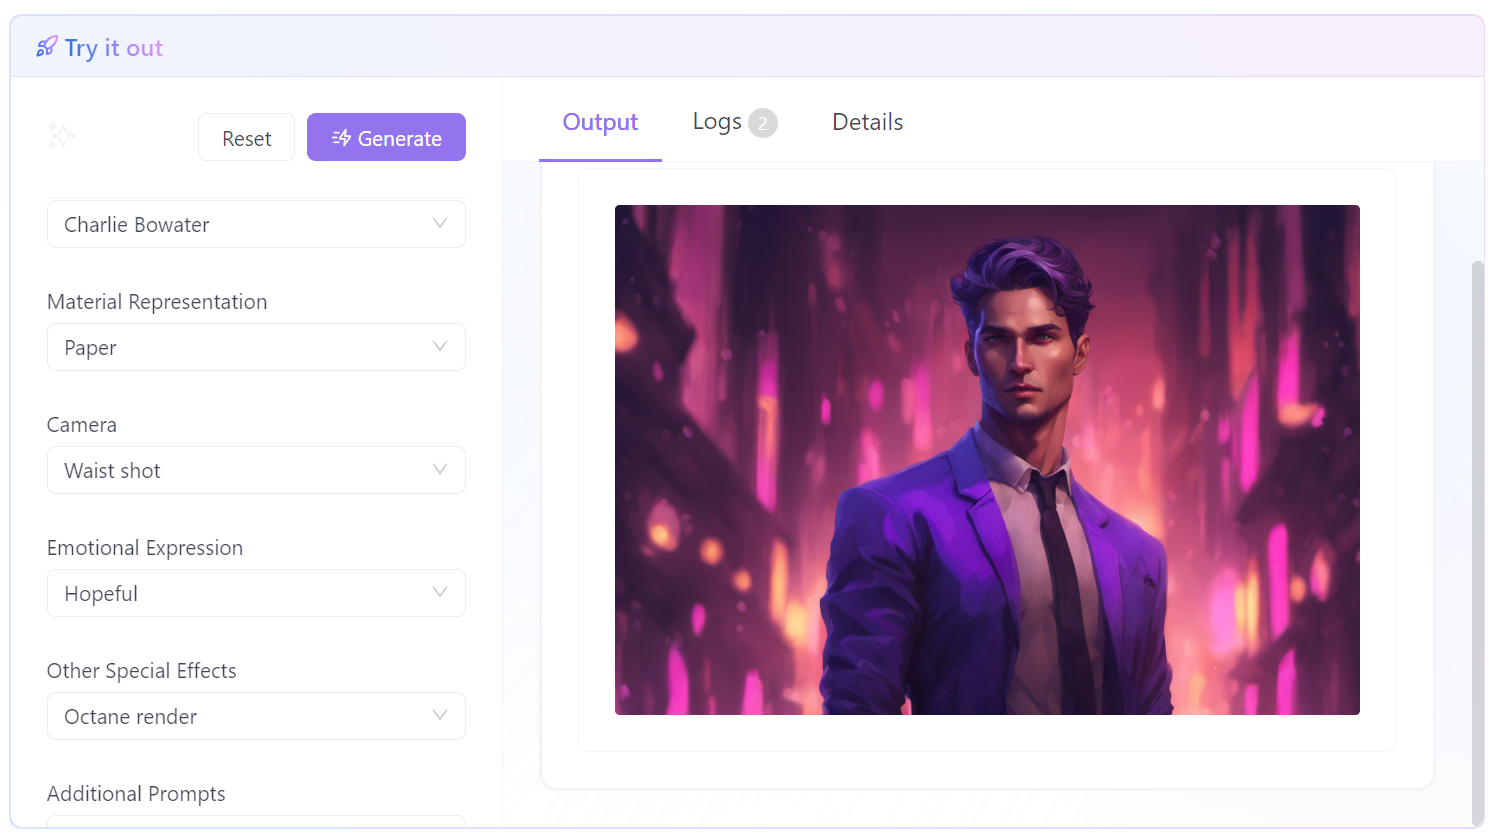
Tip: Instead of installing Stable Diffusion Locally, why not try a free, online version of Stable Diffusion that gives you quick results without the hassle of local installation?
No need for complicated installation process, simply input your prompt, and click on the Generate button to see the magic!
If you would like to have more control over the result, it even gives you extra control of Advanced Parameters!
Stable Diffusion is a groundbreaking Generative AI model introduced in 2022. This model has the remarkable capability to generate unique photorealistic images based on text and image prompts. What sets Stable Diffusion apart is its versatility – it can not only create images but also produce videos and animations.
What is Stable Diffusion, anyway?
The core technology behind Stable Diffusion is diffusion. Similar to physical diffusion, it gradually adds detail to images. One significant advantage of this approach is its reduced processing requirements, allowing it to run effectively on desktops or laptops equipped with GPUs.
Moreover, what makes Stable Diffusion stand out is its permissive licensing. It can be fine-tuned to cater to specific needs using as few as five images through transfer learning. The permissive licensing of Stable Diffusion ensures that it is available to a wide range of users, setting it apart from its predecessors in the generative AI landscape. This innovative tool holds great potential for various creative applications.
How to Install Stable Diffusion on Windows
How to Install Stable Diffusion on Windows PC
Installing Stable Diffusion on a Windows PC is a straightforward process, but it requires attention to detail to ensure a successful setup. Let's break down the steps:
System Requirements
Before diving into the installation, it's essential to ensure your PC meets the necessary criteria:
Operating System: Windows 10 or higher.
Graphics Card: A discrete Nvidia GPU with at least 4 GB VRAM.
Installation Steps for Stable Diffusion on Windows
Step 1: Install Python
Ensure all previous versions of Python are uninstalled (Control Panel → Add or remove programs).
Install Python 3.10.6 from the Microsoft Store or the Python website. If using the website installer, select “Add Python 3.10 to PATH”.
Verify the installation by typing python in the Command Prompt.
Open Command Prompt and navigate to your home folder (cd %userprofile%).
Clone the AUTOMATIC1111 repository:bashCopy codegit clone https://github.com/AUTOMATIC1111/stable-diffusion-webui.git
Step 4: Download a Model File
Navigate to %userprofile%\stable-diffusion-webui in File Explorer.
Go to models\Stable-diffusion and download the Stable Diffusion v1.5 model checkpoint file into this folder.
Step 5: Run WebUI
In File Explorer, go back to the stable-diffusion-webui folder.
Double-click webui-user.bat to run and complete the installation.
When done, a message will appear with the URL http://127.0.0.1:7860/.
Open this URL in a web browser to access the AUTOMATIC1111 web UI.
Options and Additional Arguments
To speed up Stable Diffusion, edit webui-user.bat and add --xformers --medvram to the COMMANDLINE_ARGS line.
For color sketch tool in img2img, add --gradio-img2img-tool color-sketch.
To use the computer as a server, add --listen.
Updating AUTOMATIC1111
To update every time you run it, edit webui-user.bat and add git pull before the webui.bat call.
For periodic updates, use Command Prompt to navigate to the stable-diffusion-webui directory and run git pull.
Once you've completed these steps, you're set to explore the wonders of AI-generated art on your Windows machine. Each step, while technical, is designed to streamline your experience, ensuring Stable Diffusion runs smoothly on your system.
Troubleshooting
If AUTOMATIC1111 does not start after updating, delete the venv folder and restart.
For NaN errors, add --no-half to webui-user.bat.
For out-of-memory errors, use --low-vram instead of --med-vram.
How to Install Stable Diffusion on Mac (Apple Silicon M1/M2)
How to Install Stable Diffusion on Mac
Apple's Silicon M1 and M2 Macs offer a unique environment for running Stable Diffusion. Though slightly different from Windows, the installation process on Mac is user-friendly and caters to the powerful capabilities of Apple's hardware.
Hardware Requirements
Before proceeding, ensure your Mac meets these requirements:
CPU: Apple Silicon M1, M1 Pro, M1 Max, M2, M2 Pro, or M2 Max.
Memory: Ideally, 16 GB or more.
Installation Steps for automatic1111/stable-diffusion-webui on Mac
1. Install Homebrew
Homebrew is a package manager that simplifies the installation of software on macOS.
Open the Terminal app on your Mac.
Copy and paste the following command into the Terminal:bashCopy code/bin/bash -c "$(curl -fsSL https://raw.githubusercontent.com/Homebrew/install/HEAD/install.sh)"
Press Return to execute the command. Follow any on-screen instructions to complete the installation of Homebrew.
2. Install Required Packages
Once Homebrew is installed, you need to install several packages that AUTOMATIC1111 depends on.
In the Terminal, enter the following command:cssCopy codebrew install cmake protobuf rust python@3.10 git wget
Press Return to run the command. This will install the necessary packages like cmake, protobuf, rust, python@3.10, git, and wget.
3. Clone AUTOMATIC1111 Repository
You need to get the AUTOMATIC1111 code from its GitHub repository.
In the Terminal, run the following command:bashCopy codegit clone https://github.com/AUTOMATIC1111/stable-diffusion-webui
This command clones the repository and creates a stable-diffusion-webui folder in your home directory.
4. Download the Model
AUTOMATIC1111 requires a specific model to run Stable Diffusion.
Follow the link provided in the article to download the v1.5 model.
Once downloaded, move the model file to the stable-diffusion-webui/models/Stable-diffusion directory.
You can navigate to this directory in Finder: In the top menu, click Go > Home, then navigate to stable-diffusion-webui > models > Stable-diffusion.
How to Run automatic1111/stable-diffusion-webui on Mac
1. Start AUTOMATIC1111 GUI
Open Terminal and navigate to the stable-diffusion-webui directory:bashCopy codecd ~/stable-diffusion-webui
Run the following command to start the AUTOMATIC1111 GUI:bashCopy code./webui.sh --no-half
This command starts the web interface for Stable Diffusion. It may take some time during the first run.
2. Access the GUI
Open a web browser on your Mac.
Go to http://127.0.0.1:7860/. This should open the AUTOMATIC1111 GUI.
3. Generate Images
In the GUI, enter a prompt in the provided text box (e.g., "a cat").
Click 'Generate' to create an image based on your prompt.
4. Keep the Terminal Open
When you're finished, don't close the Terminal window now. If you close the terminal now, Stable Diffusion would cease running.
After you have completed your tasks and decides to shut down the Stable Diffusion program, close the Terminal window.
Other Options for Running Stable Diffusion on Mac
There are several methods to install Stable Diffusion on Mac, each varying in features and complexity:
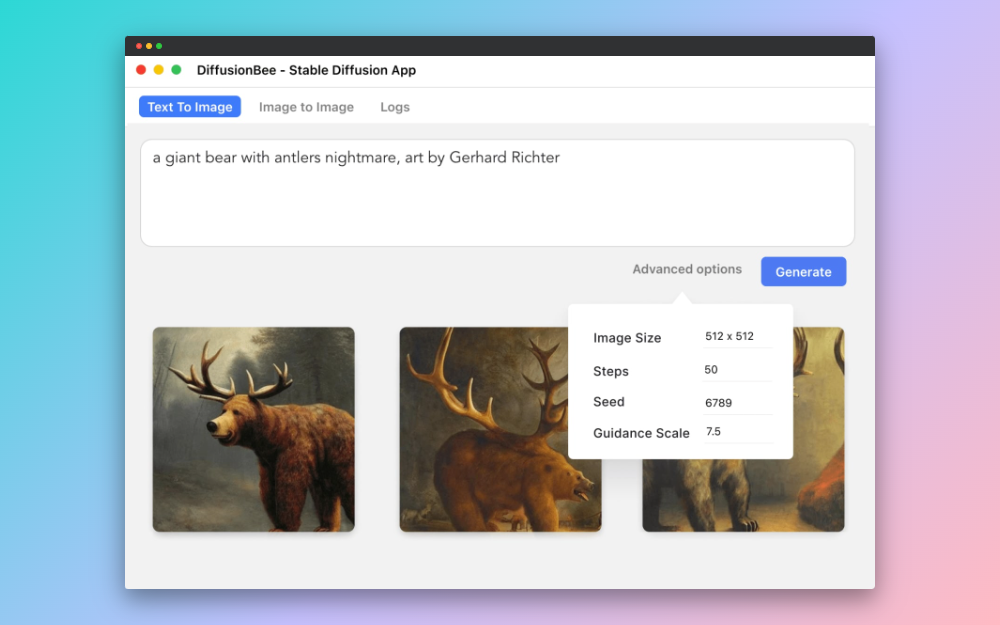
Features: Extensive list of models and reasonable customizations.
Pros: Fast. On 8GB M1 MacBook Air, DiffusionBee takes around 30 seconds to generate an image. The speeds can be much higher on computers with higher specs.
Cons: Less extensive features compared to AUTOMATIC1111.
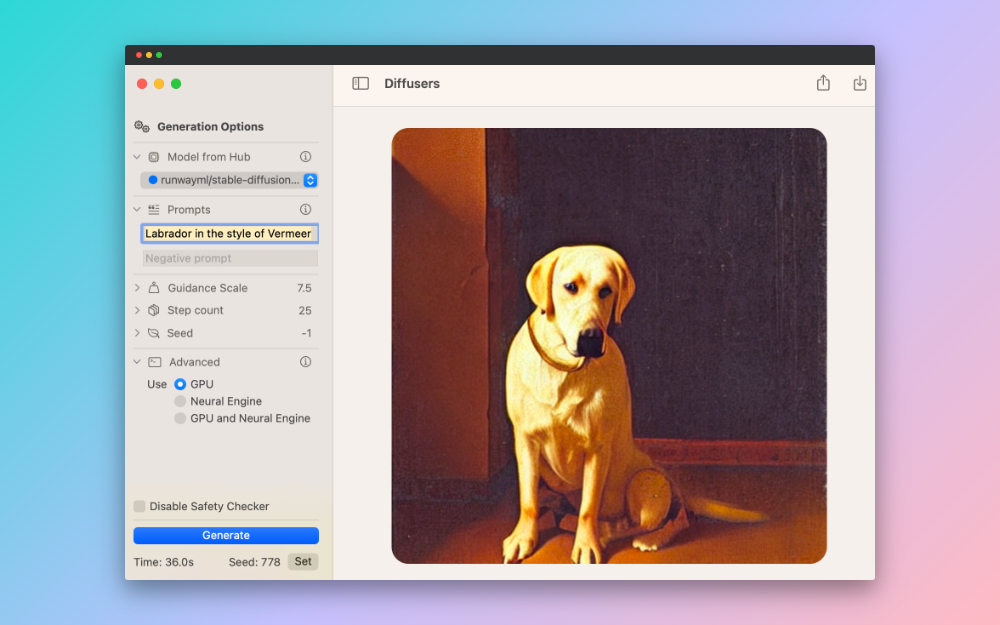
Features: Limited models and customization options.
Pros: Straightforward installation.
Cons: Very limited features.
Performance Considerations for Running Stable Diffusion on M1/M2 Mac
💡
It's important to note that AI models like Stable Diffusion may run slower on Mac compared to a similarly priced Windows PC with a dedicated GPU. However, the ease of use and installation on Mac makes it an attractive option for many users.
How to Install Stable Diffusion on Ubuntu/Other Linux Distros
Step by Step Guide to Install Stable Diffusion on Ubuntu
Linux users also have the privilege of harnessing the power of Stable Diffusion. In this walkthrough, we will take Ubuntu as an example:
Basic Requirements for Ubuntu
Ensure your Ubuntu system meets these criteria:
Operating System: Your Linux distro is competiable with Stable Diffusion.
Graphics Card: An NVIDIA GPU with at least 4GB VRAM is recommended for optimal performance.
Memory and Storage: Minimum of 8GB RAM and 20GB of disk space.
Installation Steps for Stable Diffusion on Ubuntu
1. Install Anaconda
Anaconda is a package manager that simplifies the management of software dependencies and environments.
Download the Anaconda installer script:arduinoCopy codewget https://repo.anaconda.com/archive/Anaconda3-2022.05-Linux-x86_64.sh
Make the script executable:bashCopy codechmod +x Anaconda3-2022.05-Linux-x86_64.sh
Install Anaconda without prompts:cssCopy code./Anaconda3-2022.05-Linux-x86_64.sh -b
Initialize conda, but prevent it from activating each time the shell starts:bashCopy code~/anaconda3/bin/conda config --set auto_activate_base false~/anaconda3/bin/conda init
2. Get the Model File
The model file for Stable Diffusion is hosted on Hugging Face.
Register on Hugging Face with an email address.
Download the latest model file (e.g., sd-v1-4.ckpt) from the Stable Diffusion repository on Hugging Face.
3. Clone the Dream Script Stable Diffusion Repository
This repository is a fork of Stable Diffusion with additional convenience functions.
Clone the repository:bashCopy codegit clone https://github.com/lstein/stable-diffusion.git cd stable-diffusion
Move the downloaded model file into the repository, renaming it:bashCopy codemkdir -p models/ldm/stable-diffusion-v1/ mv ~/Downloads/sd-v1-4.ckpt models/ldm/stable-diffusion-v1/model.ckpt
4. Create the Conda Environment
While in the Stable Diffusion repository directory, create the conda environment:bashCopy codeconda env create -f environment.yaml
This step might take some time due to numerous dependencies.
How to Run Stable Diffusion on Ubuntu
1. Activate the Conda Environment
Activate the conda environment:Copy codeconda activate ldm
Run the dream script:bashCopy codepython scripts/dream.py
Enter a natural language text prompt when prompted.
3. Generating Images
Images will be generated in the outputs/img-sample folder based on your text prompt.
4. Additional Features
Using an Image as a Source: Use the --init_img flag to start with a crude image.
Generating Larger Images: Install Real-ESRGAN in the conda environment to upscale output images.
Face Restoration: Install GFPGAN for face restoration in images.
Alternative: Use Stable Diffusion Online Image Generator
Instead of going through the hassle of installing Stable Diffusion Locally, you might want to explore the benefits of using a free, web-based version of Stable Diffusion known as the Stable Diffusion Online Image Generator.
Stable Diffusion Online Image Generator
With the Stable Diffusion Online Image Generator, you can enjoy quick and convenient access to this powerful tool without the need for complicated local installation.
Here's why you should consider using it:
No Installation Required: Say goodbye to the complexities of local installation. With the online version, you can get started right away.
Easy to Use: Simply input your desired prompt or text, and then click on the "Generate" button. It's as easy as that!
Rapid Results: Experience the magic of Stable Diffusion with fast and efficient image generation.
Extra Control: If you want more control over the generated images, the online version even provides access to Advanced Parameters, allowing you to fine-tune the output to your liking.
Yes, Stable Diffusion Image Generator offers a hassle-free, user-friendly, and efficient way to create stunning images without the need for local installation. Give it a try and witness the magic for yourself!
Whether you're a Windows, Mac, or Linux user, the process detailed in this guide ensures you can harness this powerful technology with ease. As you delve into the world of AI-assisted creativity, remember that each operating system offers unique advantages, and the choice ultimately depends on your specific needs and setup.
FAQs
How do you get Stable Diffusion?
To get Stable Diffusion, choose the appropriate installation method for your operating system as detailed in this guide, and follow the step-by-step instructions.
Can you run Stable Diffusion for free?
Yes, Stable Diffusion can be run for free. You can install it on your personal computer if it meets the system requirements, or use online platforms like DreamStudio.
Is Stable Diffusion downloadable?
Yes, Stable Diffusion is downloadable. The installation files and necessary components can be found online and installed on compatible systems.
What do you need to run Stable Diffusion?
To run Stable Diffusion, you need a computer that meets the system requirements (such as a compatible operating system and a sufficient GPU for Windows and Linux users, or an Apple Silicon Mac). Additionally, specific software like Python and Git might be required depending on the installation method.