Screenshot to Code: Clone a Website with GPT-4V in Minutes!
Explore the future of web development with our easy-to-follow guide on the 'screenshot-to-code' tool. Learn how to effortlessly transform screenshots into code using AI, making your development process faster and more creative. Perfect for both developers and designers!
In an era where technology is continuously reshaping our world, a new groundbreaking tool, screenshot to code, is revolutionizing the web development landscape.
Screenshot to code leverages the power of GPT-4V and DALLE 3, transforms mere screenshots into functional code, marking a significant leap forward in efficiency and creativity. But what does this mean for developers and designers? Let's dive in.
Want to try more AI Apps? Want to build these Apps with No Code?
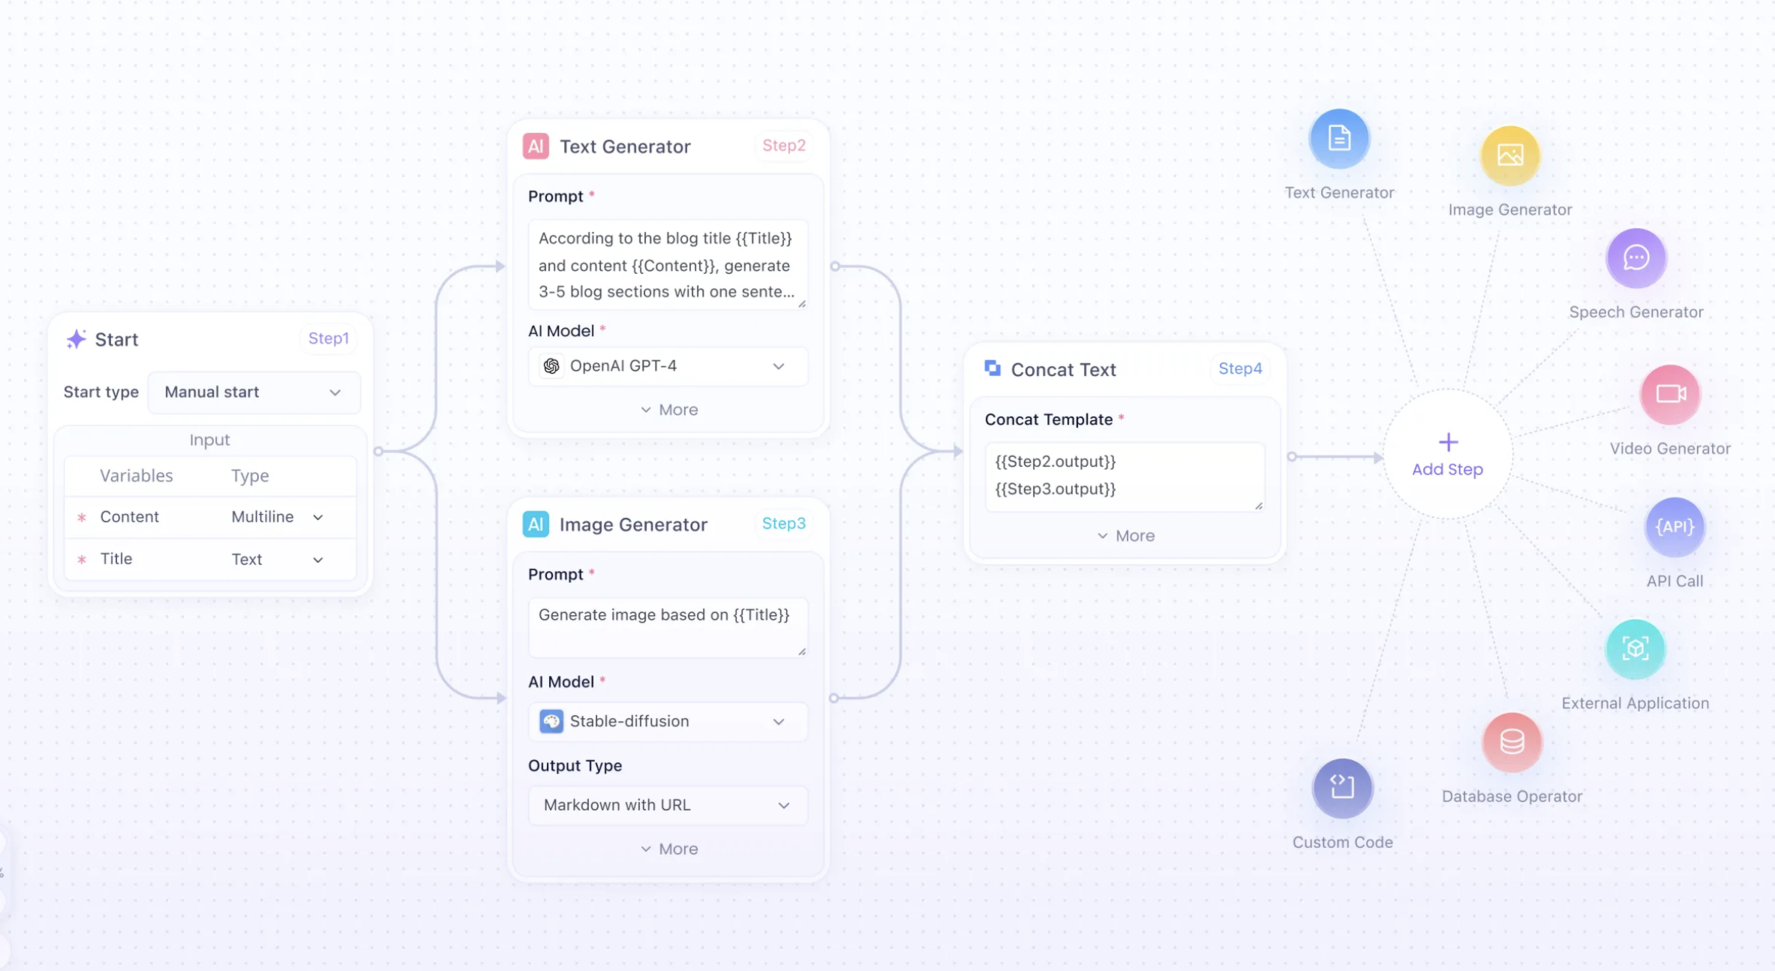
Anakin.ai got you covered! You can easily create gpt-4, claude-2.1, stable diffusion, DALLE 3 API powered apps with No Code!
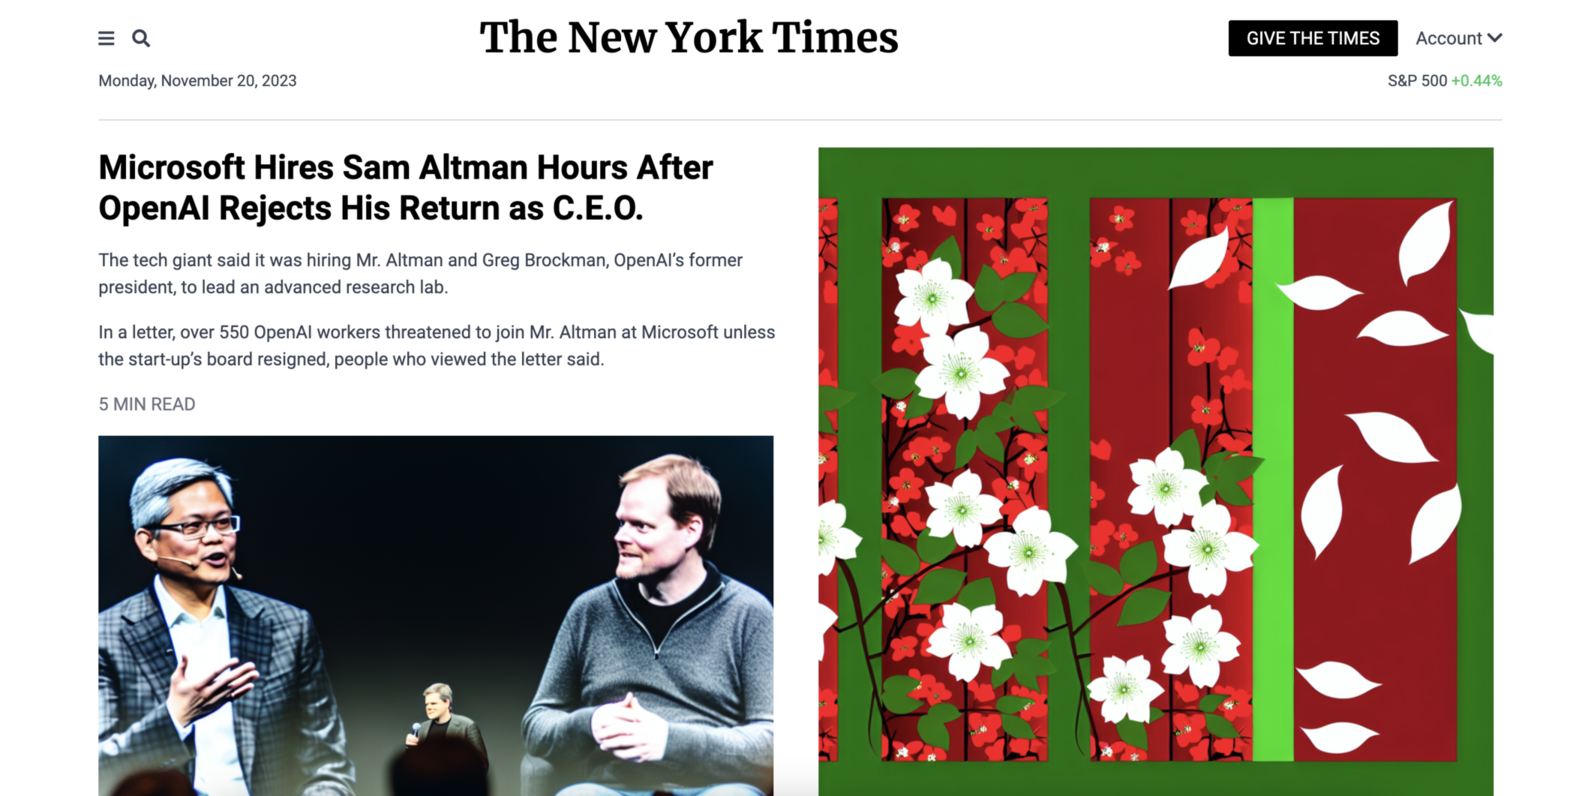
A Cloned Version of New York Time created by Screen-to-Code
Screenshot to code is an AI-powered tool that converts screenshots into various code formats, including HTML, Tailwind CSS, React, Vue, and Bootstrap. It's a blend of two cutting-edge technologies: GPT-4 Vision for code generation and DALL-E 3 for image creation.
Screenshot-to-Code: Combing GPT-4V and DALLE 3!
At its core, screenshot-to-code uses AI to interpret visual elements from a screenshot and translate them into code. It's not just about replicating the design; it's about understanding the structure, layout, and styling to produce clean, usable code.
Features and Capabilities
Code Generation: The tool can generate code in HTML, Tailwind CSS, React, Vue, and Bootstrap.
DALL-E 3 Integration: Enhances the tool’s capabilities by generating images that resemble the input screenshot.
URL Cloning: Allows users to input a URL and clone a live website, broadening its usability.
This tool is not just a convenience; it's a game-changer. It opens doors for rapid prototyping, reduces the time spent on converting designs to code, and aids in learning code structure for aspiring developers.
Let's Convert a Screenshot to Code!
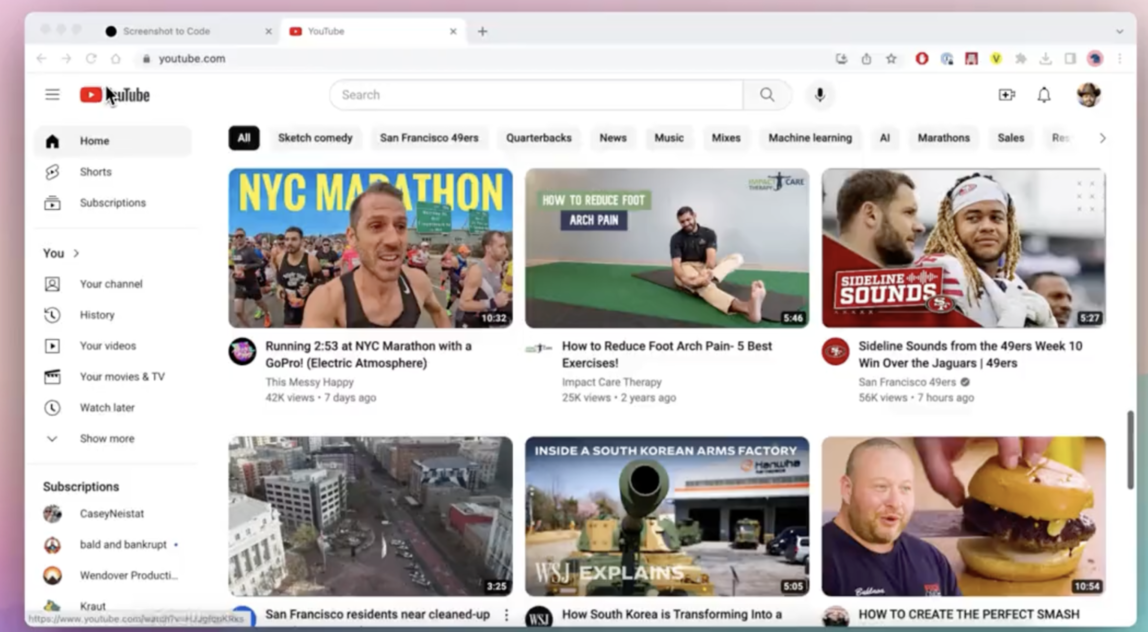
In this walkthorugh, We will use YouTube as an example. Try to create a YouTube Clone with Screenshot to Code!
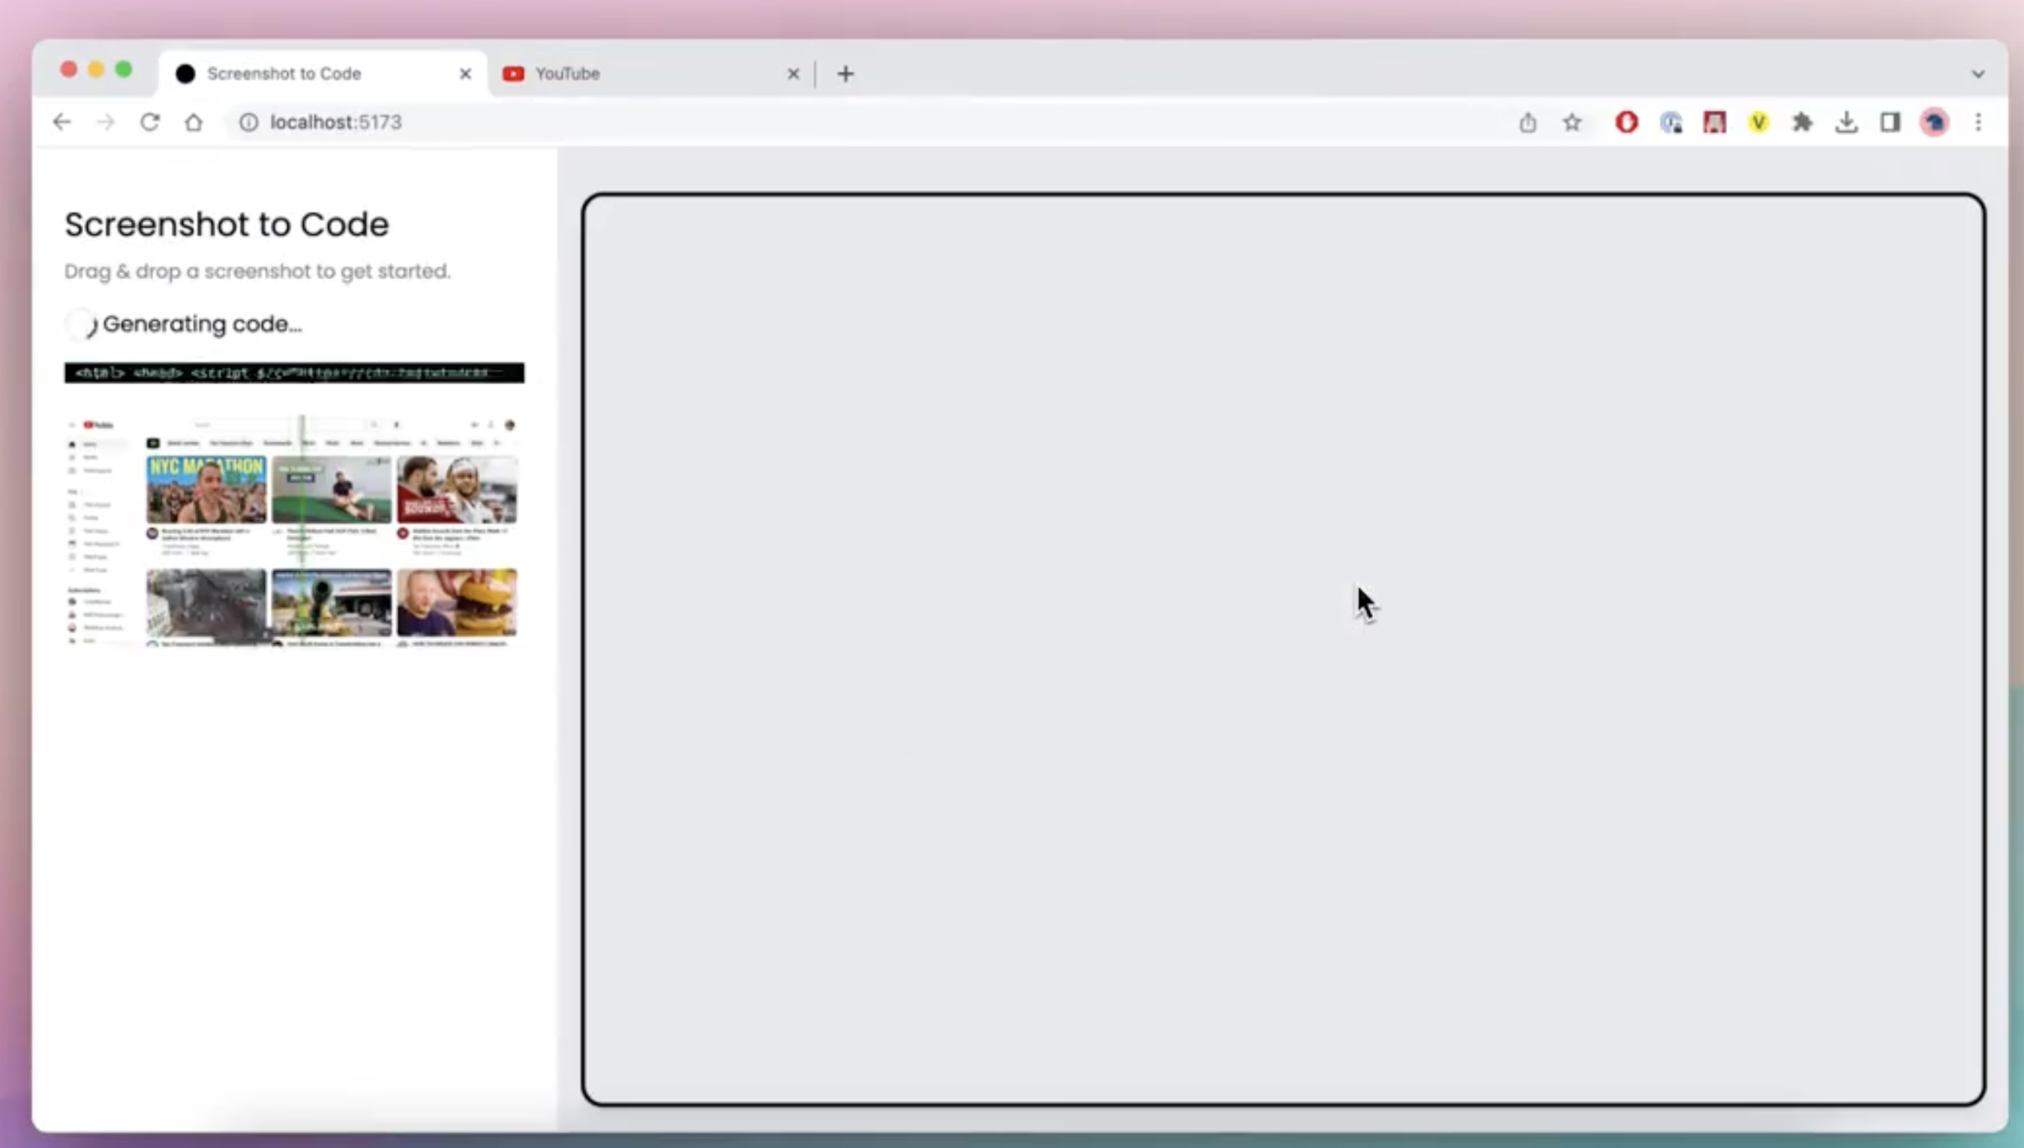
Let's Clone YouTube using Screenshot to Code!
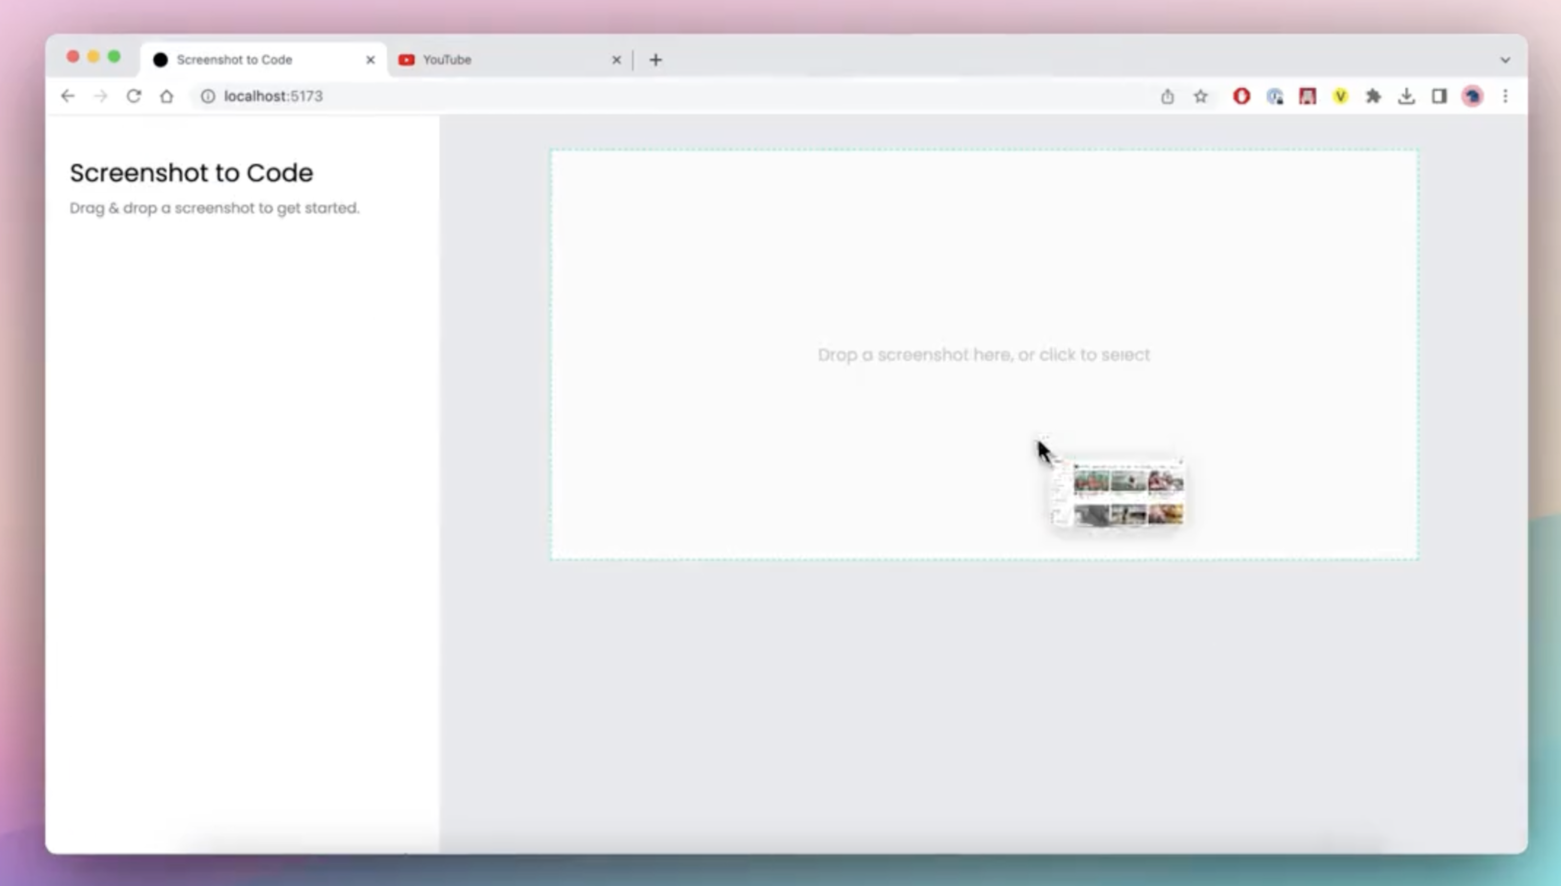
Uploading a Screenshot:
The interface is straightforward. Click on the upload area or drag and drop a screenshot. Choose a high-resolution image that clearly depicts the UI you wish to convert into code.
Choosing Output Format:
Select your desired output format from the options provided. Each format (HTML, Tailwind CSS, React, Vue) serves different purposes and caters to different needs in web development.
Generating the Code:
After uploading and selecting the format, click on the 'Generate' button. The AI will then process the image and generate the corresponding code in your chosen format.
Step 6: Editing and Customization
Edit Generated Code:
The built-in code editor allows you to make modifications to the generated code. This is where you can fine-tune the output, correcting any anomalies or adding personal touches.
Preview Changes:
The tool offers a live preview feature, enabling you to see the effects of your edits in real time. This immediate feedback is invaluable for ensuring the final product meets your standards.
Step 7: Exporting the Code
Export the Final Code:
Once you're satisfied with the edits, you can export the code. This can be done via a download option or by copying the code directly from the editor.
Additional Tips
API Key: Ensure your OpenAI API key has access to GPT-4 Vision. This is a critical step, as the key enables the tool to access advanced AI capabilities.
Quality of Screenshots: The clarity and complexity of the screenshots can significantly affect the quality of the generated code. Use clear, structured screenshots for optimal results.
Debugging: In the development phase, consider using the mock mode in the backend. This mode helps test the application without using actual GPT4-Vision credits, saving resources during trial and error.
How to Run Screenshot-to-Code Locally
Awesome! So, you've got this cool app that uses React and Vite for the frontend and FastAPI for the backend. But first, you'll need an OpenAI API key that can access GPT-4 Vision. Got that? Great, let's dive in!
Setting Up the Backend
Getting Poetry Ready:
If you haven’t got Poetry on your machine yet, no worries. Just run pip install poetry. It’s a neat tool for handling Python packages.
Jump into the Backend:
Open your command line and switch to the backend directory with cd backend.
Set Up Your API Key:
Here's where your OpenAI API key comes in. Type echo "OPENAI_API_KEY=sk-your-key" > .env to save your key in an environment file. Replace sk-your-key with your actual key, of course.
Install Backend Dependencies:
Run poetry install to get all the Python dependencies in place.
Fire Up the Backend Server:
Type poetry run uvicorn main:app --reload --port 7001. This starts your backend server and the --reload part means it'll automatically update when you make changes.
Setting Up the Frontend
Navigate to the Frontend:
Now, let's set up the frontend. Switch directories with cd frontend.
Install Frontend Stuff:
Here, you'll use Yarn. Just run yarn to install what you need.
Start the Frontend Server:
Lastly, kick off the frontend server by typing yarn dev.
Access the App
Open Your Browser:
Easy peasy! Just open your favorite web browser and go to http://localhost:5173. And there you have it, your very own local version of the Screenshot-to-Code app, ready and waiting for you to play around with!
A Couple More Things
Changing the Backend Port:
If you want to run the backend on a different port, no problem. Just update VITE_WS_BACKEND_URL in the frontend/.env.local file to match your new port number.
Running in Mock Mode:
Want to test things out without using up your GPT-4 Vision credits? Switch to mock mode by running MOCK=true poetry run uvicorn main:app --reload --port 7001. This way, you'll get pre-recorded responses instead of real-time AI magic.
Using Docker? Here's How
Docker Setup:
If you're a Docker fan, setting up is a breeze. In the root directory of the project, just run echo "OPENAI_API_KEY=sk-your-key" > .env to set your API key.
Then, fire up Docker with docker-compose up -d --build.
Accessing the App with Docker:
Once Docker does its thing, the app will be up at http://localhost:5173, just like the manual setup.
Remember, though, the Docker setup is great for running the app, but if you're planning to tweak and develop the code further, you'll want to stick with the manual setup. Docker won't automatically rebuild with file changes.
Use AI tools like "screenshot-to-code" to convert screenshots of UIs into HTML/CSS/JS code, or manually replicate the design by analyzing the screenshot.
How do I extract code from a picture?
Use OCR (Optical Character Recognition) software to recognize and extract text (including code) from images. Tools like Adobe Acrobat or online OCR services can help with this.
How do I create a code snapshot?
In programming, a code snapshot typically refers to capturing the current state of your code, often done using version control systems like Git.
How do I screenshot code in Vscode?
To take a screenshot of code in Visual Studio Code, you can simply use your operating system's screenshot functionality (like Snipping Tool in Windows, Shift + Command + 4 on macOS, or the Print Screen key in many Linux distros). For a more enhanced experience, extensions like “Polacode” can be used to create polished snapshots of your code.
Conclusion
The screenshot-to-code project is a remarkable example of AI's growing influence in bridging gaps between different disciplines. It's a powerful tool that redefines the web development process, making it more efficient, accessible, and creative. As technology continues to advance, we can expect to see more innovations that blend technical prowess with creative processes, further enhancing our capabilities in web development.
In summary, screenshot-to-code is not just a technological marvel; it's a catalyst for change in the web development landscape, heralding a new era of AI-assisted design and coding.
Want to try more AI Apps? Want to build these Apps with No Code?
Anakin.ai got you covered! You can easily create gpt-4, claude-2.1, stable diffusion, DALLE 3 API powered apps with No Code!