Open WebUI: Build Your Local ChatGPT with Ollama in Minutes
Unlock the full potential of Open WebUI with advanced tips, detailed steps, and sample code for load balancing, API integration, image generation, and retrieval augmented generation - elevate your AI projects to new heights!
Open WebUI: Unleashing the Power of Language Models
Open WebUI, formerly known as Ollama WebUI, is a powerful open-source platform that enables users to interact with and leverage the capabilities of large language models (LLMs) through a user-friendly web interface. Built on top of the Hugging Face Transformers library, Open WebUI provides a seamless way to explore and utilize state-of-the-art language models for various natural language processing (NLP) tasks.
In this article, we will dive into the details of Open WebUI, exploring its features, installation process, and how to effectively use it with sample code snippets. We will also cover the process of creating a ChatGPT-like UI for your AI projects, as demonstrated in the YouTube video "Creating a ChatGPT like UI for all your AI projects" by Alejandro AO.
Anakin AI is an all-in-one platform for all your workflow automation, create powerful AI App with an easy-to-use No Code App Builder, with Llama 3, Claude, GPT-4, Uncensored LLMs, Stable Diffusion...
Build Your Dream AI App within minutes, not weeks with Anakin AI!
Open WebUI offers a range of features that make it an attractive choice for developers and researchers working with language models:
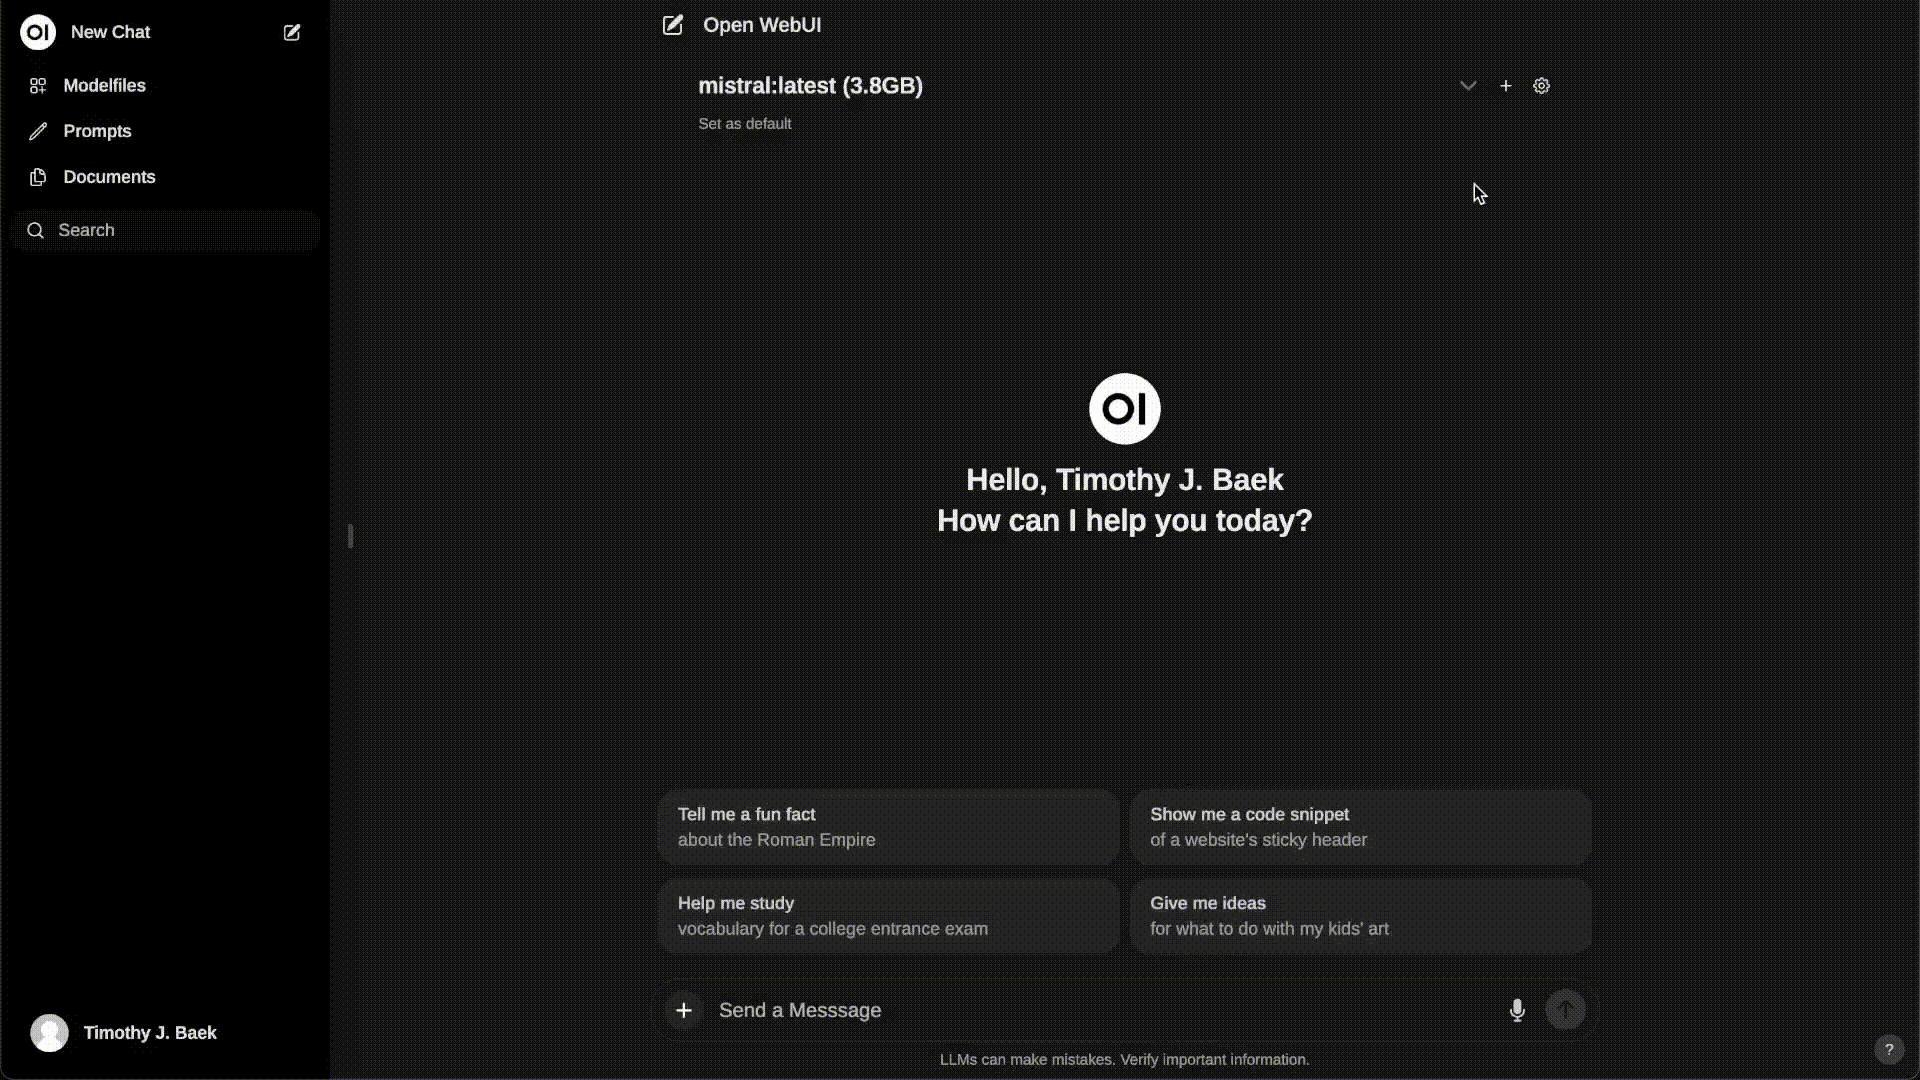
Intuitive Web Interface: Open WebUI provides a clean and intuitive web interface that allows users to interact with language models without the need for complex setup or coding.
Support for Multiple Models: Open WebUI supports a wide range of language models, including GPT-2, GPT-Neo, and BERT, among others. This flexibility enables users to choose the most suitable model for their specific use case.
Real-time Inference: With Open WebUI, users can perform real-time inference on input text, generating outputs based on the selected language model and parameters.
Customizable Parameters: Open WebUI allows users to customize various parameters, such as temperature, top-k, and top-p, to fine-tune the generated outputs according to their preferences.
API Integration: Open WebUI provides an API endpoint that can be easily integrated into existing applications or workflows, enabling programmatic access to the language models.
Local and Remote RAG Integration: Open WebUI supports Retrieval Augmented Generation (RAG), allowing users to seamlessly integrate local and web-based content into their chats by starting a prompt with #. This feature is still in its alpha phase and may occasionally encounter issues.
Prompt Preset Support: Users can instantly access preset prompts using the /command in the chat input, making it easy to load predefined conversation starters and expedite interactions. Prompts can also be imported through Open WebUI Community integration.
RLHF Annotation: Open WebUI enables users to rate messages with thumbs up and thumbs down, facilitating the creation of datasets for Reinforcement Learning from Human Feedback (RLHF). These messages can be utilized to train or fine-tune models while ensuring the confidentiality of locally saved data.
Modelfile Builder: Open WebUI includes a Modelfile Builder that allows users to easily create Ollama modelfiles via the web UI. Users can create and add characters/agents, customize chat elements, and import modelfiles effortlessly through Open WebUI Community integration.
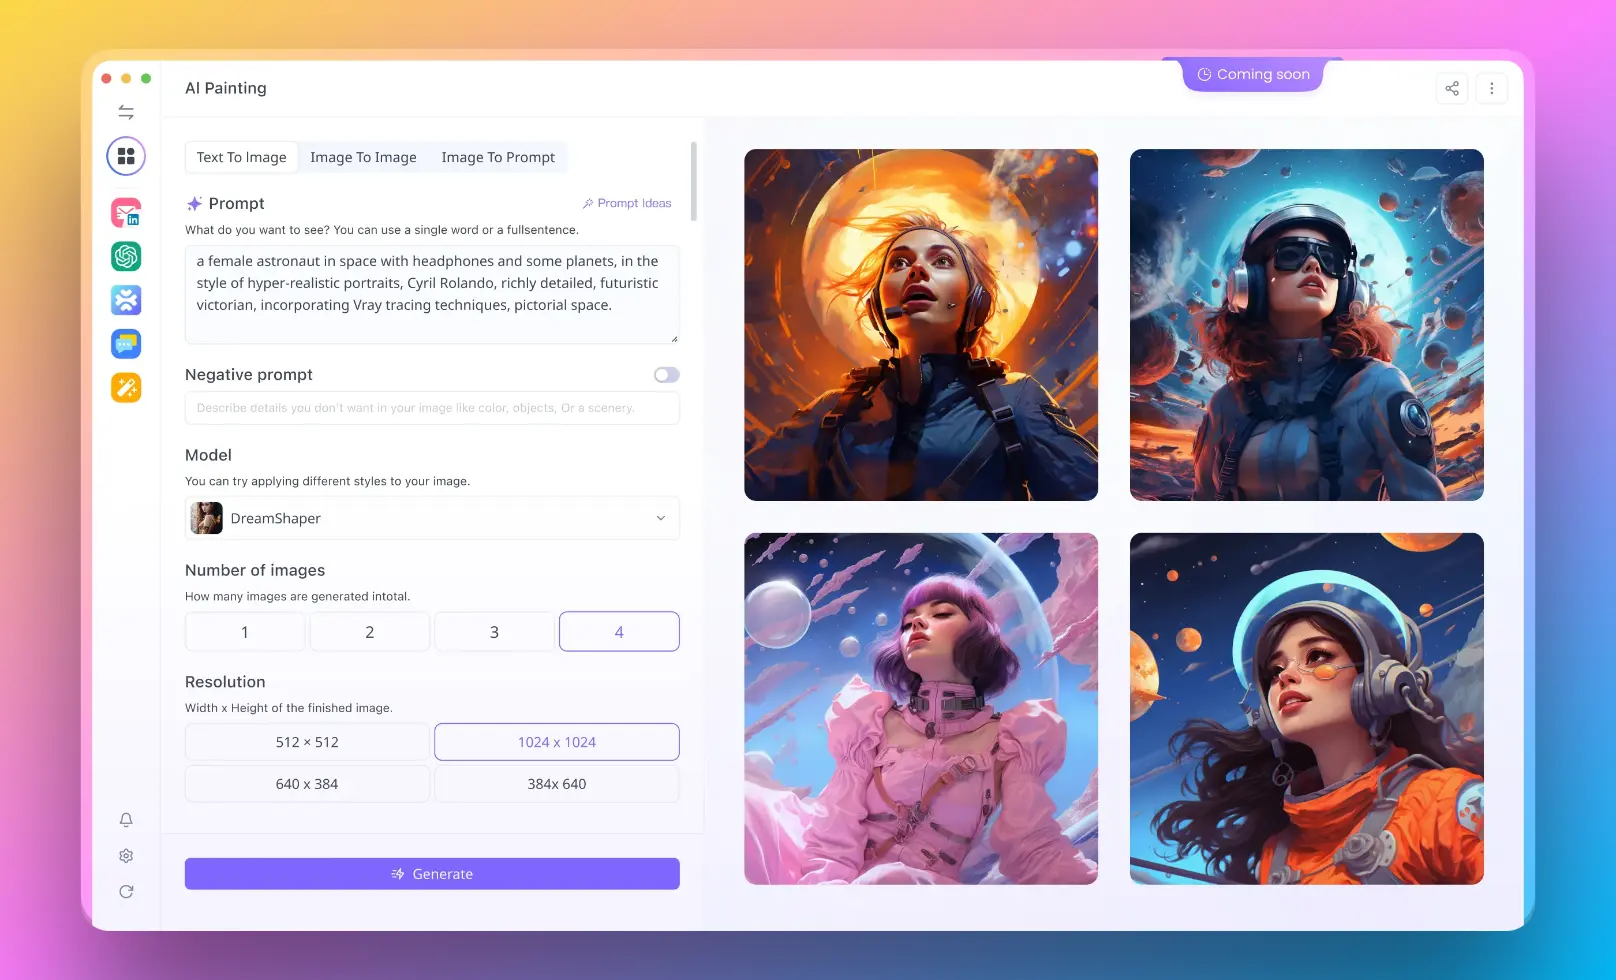
Image Generation Integration: Open WebUI seamlessly incorporates image generation capabilities using AUTOMATIC1111 API (local) and DALL-E, enriching the chat experience with dynamic visual content.
How to Install Open WebUI
To get started with Open WebUI, follow these step-by-step instructions:
Clone the Repository:
git clone https://github.com/open-webui/open-webui.git
cd open-webui
Install Dependencies:
pip install -r requirements.txt
Run the Application:
python app.py
Access the Web Interface: Open your web browser and navigate to http://localhost:5000 to access the Open WebUI interface.
How to Use Open WebUI
Once you have Open WebUI up and running, you can start exploring its capabilities. Here's a step-by-step guide on how to use Open WebUI:
Select a Language Model: From the dropdown menu on the Open WebUI interface, choose the desired language model you want to work with.
Input Text: Enter the input text or prompt in the provided text area. This text will serve as the starting point for the language model to generate a response.
Adjust Parameters (Optional): If desired, you can adjust the generation parameters such as temperature, top-k, and top-p to control the randomness and diversity of the generated outputs.
Generate Output: Click the "Generate" button to initiate the inference process. Open WebUI will send the input text to the selected language model and display the generated output in the interface.
Iterate and Refine: You can continue to modify the input text, adjust parameters, and generate new outputs until you achieve the desired results.
How to Create a ChatGPT-like UI for Your AI Projects Using Open WebUI
In the YouTube video "Creating a ChatGPT like UI for all your AI projects" by Alejandro AO, a step-by-step guide is provided on how to create a user-friendly chat interface similar to ChatGPT for your AI projects. Here's a summary of the key steps:
Set up the Project: Create a new project directory and initialize a new React application using the create-react-app command.
Install Dependencies: Install the necessary dependencies, such as react-chat-ui and axios, to facilitate the chat interface and API communication.
Create the Chat Component: Create a new component called Chat that will serve as the main chat interface. Import the required components from react-chat-ui and set up the initial state for messages and user input.
Implement the Chat Functionality: Define functions to handle user input, send messages to the backend API, and receive responses. Update the state accordingly to display the messages in the chat interface.
Integrate with the Backend API: Use axios to make API calls to the backend server, sending user messages and receiving generated responses from the language model.
Style the Chat Interface: Apply CSS styles to customize the appearance of the chat interface, making it visually appealing and user-friendly.
Test and Refine: Run the application and test the chat functionality. Iterate and refine the code as needed to ensure a smooth and responsive user experience.
By following these steps, you can create a ChatGPT-like UI for your AI projects, providing users with an intuitive and engaging way to interact with language models.
Advanced Tips for Using Open WebUI
Open WebUI is a powerful platform that offers a wide range of features and customization options. In this article, we will explore some advanced tips and techniques to help you make the most of Open WebUI. We will cover topics such as load balancing, OpenAI API endpoints, image generation, and Retrieval Augmented Generation (RAG).
Ollama Load Balancing with Open WebUI
Load balancing allows you to distribute the processing load across multiple Ollama instances, improving performance and reliability. Here's how you can configure Open WebUI to connect to multiple Ollama instances using environment variables:
With Docker Run
Use the following command to run Open WebUI with Docker and connect to multiple Ollama instances:
The OLLAMA_BASE_URLS environment variable specifies the base URLs for each Ollama instance, separated by semicolons (;). Make sure both Ollama instances are running the same version and have matching tags for each shared model.
With Docker Compose
If you prefer using docker-compose, you can define the OLLAMA_BASE_URLS environment variable in your docker-compose.yaml file:
To prevent issues, ensure that both Ollama instances are running identical versions and tags for each shared model. You can use the "Update All Models" button in the Settings > Models screen to keep the models synchronized across instances.
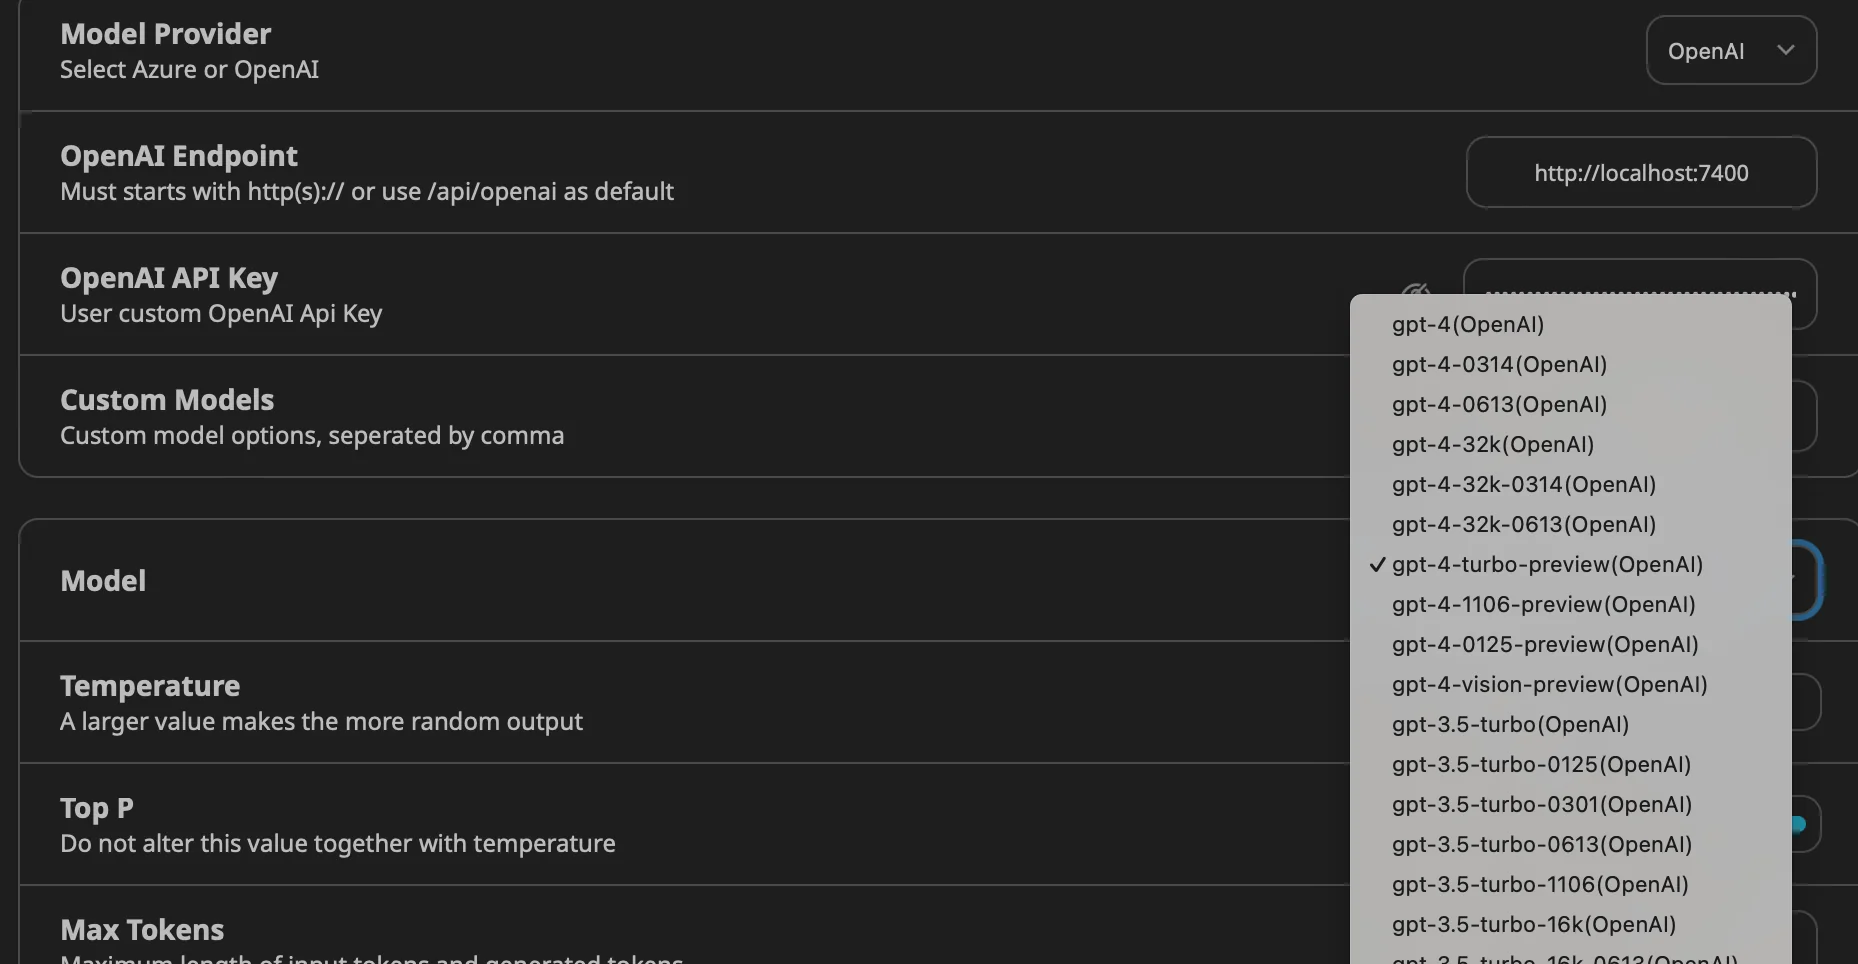
OpenAI API Endpoints with Open WebUI
Open WebUI allows you to configure multiple OpenAI (or compatible) API endpoints using environment variables. This enables you to switch between different API providers or use multiple providers simultaneously.
With Docker Run
Use the following command to run Open WebUI with Docker and configure multiple OpenAI API endpoints:
Retrieval Augmented Generation (RAG) with Open WebUI
Retrieval Augmented Generation (RAG) allows you to include context from diverse sources in your chats. Text from different sources is combined with the RAG template and prefixed to the user's prompt.
Including External Sources in Chats
Activate RAG by starting the prompt with a # symbol.
A list of available sources will appear.
Select the desired source from the list.
Once selected, a document icon will appear at the top of the prompt, indicating successful retrieval.
Local Sources
To use local documents as sources for RAG:
Upload the desired documents via the Documents section in Open WebUI.
Navigate to the Documents section and click the "Upload" button.
Select the local files you want to use as sources.
Activate RAG and select the uploaded local documents as sources.
Sourcing from the Web
To use web pages as sources for RAG:
Start the prompt with # followed by the target URL.
Open WebUI will fetch and parse the content of the specified URL.
Tip: For better results, link to a raw or reader-friendly version of the page to avoid extraneous information.
Open WebUI uses various parsers to extract content from local and remote documents. The parsing process is handled internally by the system.
RAG Template Customization
To modify the RAG template:
Go to the Documents section in Open WebUI.
Click on the 'settings' icon.
Customize the RAG template according to your requirements.
By leveraging these advanced features and techniques, you can enhance your experience with Open WebUI and unlock its full potential for your AI projects. Experiment with different sources, templates, and image generation options to create powerful and engaging AI-driven applications.
Conclusion
Open WebUI provides a powerful and user-friendly platform for interacting with large language models. With its intuitive web interface, support for multiple models, and customizable parameters, Open WebUI empowers developers and researchers to explore and leverage the capabilities of LLMs effortlessly.
Anakin AI is an all-in-one platform for all your workflow automation, create powerful AI App with an easy-to-use No Code App Builder, with Llama 3, Claude, GPT-4, Uncensored LLMs, Stable Diffusion...
Build Your Dream AI App within minutes, not weeks with Anakin AI!
By following the installation steps, creating a ChatGPT-like UI, and utilizing the provided code samples, you can quickly get started with Open WebUI and begin generating high-quality text outputs for various NLP tasks. Whether you are working on text generation, question answering, or any other language-related application, Open WebUI offers a versatile and accessible solution.
As you dive deeper into Open WebUI, don't hesitate to explore its documentation and community resources for further guidance and advanced use cases. With Open WebUI at your disposal, the possibilities for harnessing the power of language models are endless.