Comfy UI: Stable Diffusion UI Better Than Automatic WebUI
Unlock your creative potential with Comfy UI! Discover how to master this powerful, modular GUI for Stable Diffusion. Start creating stunning AI art today!
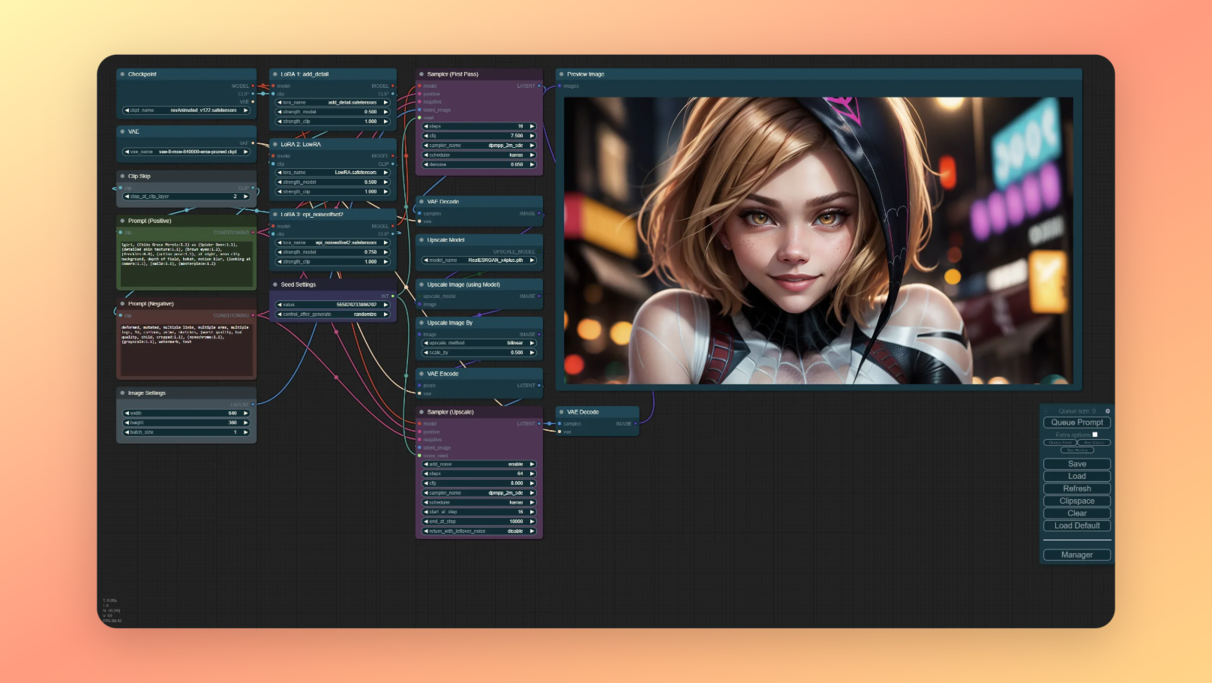
Hey there! You might be searching the best Stable Diffusion UI . And if you're seeking the alternative Stable Diffusion UI to replace the Automatic1111 UI, let me introduce you to: Comfy UI - a modular and powerful GUI (Graphical User Interface) for Stable Diffusion.
Comfy UI: the Perfect Automatic1111 WebUI Alternative
Comfy UI versus Automatic1111 WebUI: A Quick Comparison
Modularity and Flexibility: Comfy UI stands out with its node-based approach, offering unparalleled flexibility. You can create intricate workflows by simply connecting different nodes, allowing for a tailored experience that's hard to beat.
Ease of Use: While Automatic1111 WebUI is popular and has its merits, Comfy UI takes user experience up a notch. Its intuitive design makes it a breeze to navigate, even for beginners.
Community-driven: One of the coolest aspects of Comfy UI is that it's community-maintained. This means you get a tool that’s constantly evolving with contributions from users just like you.
💡
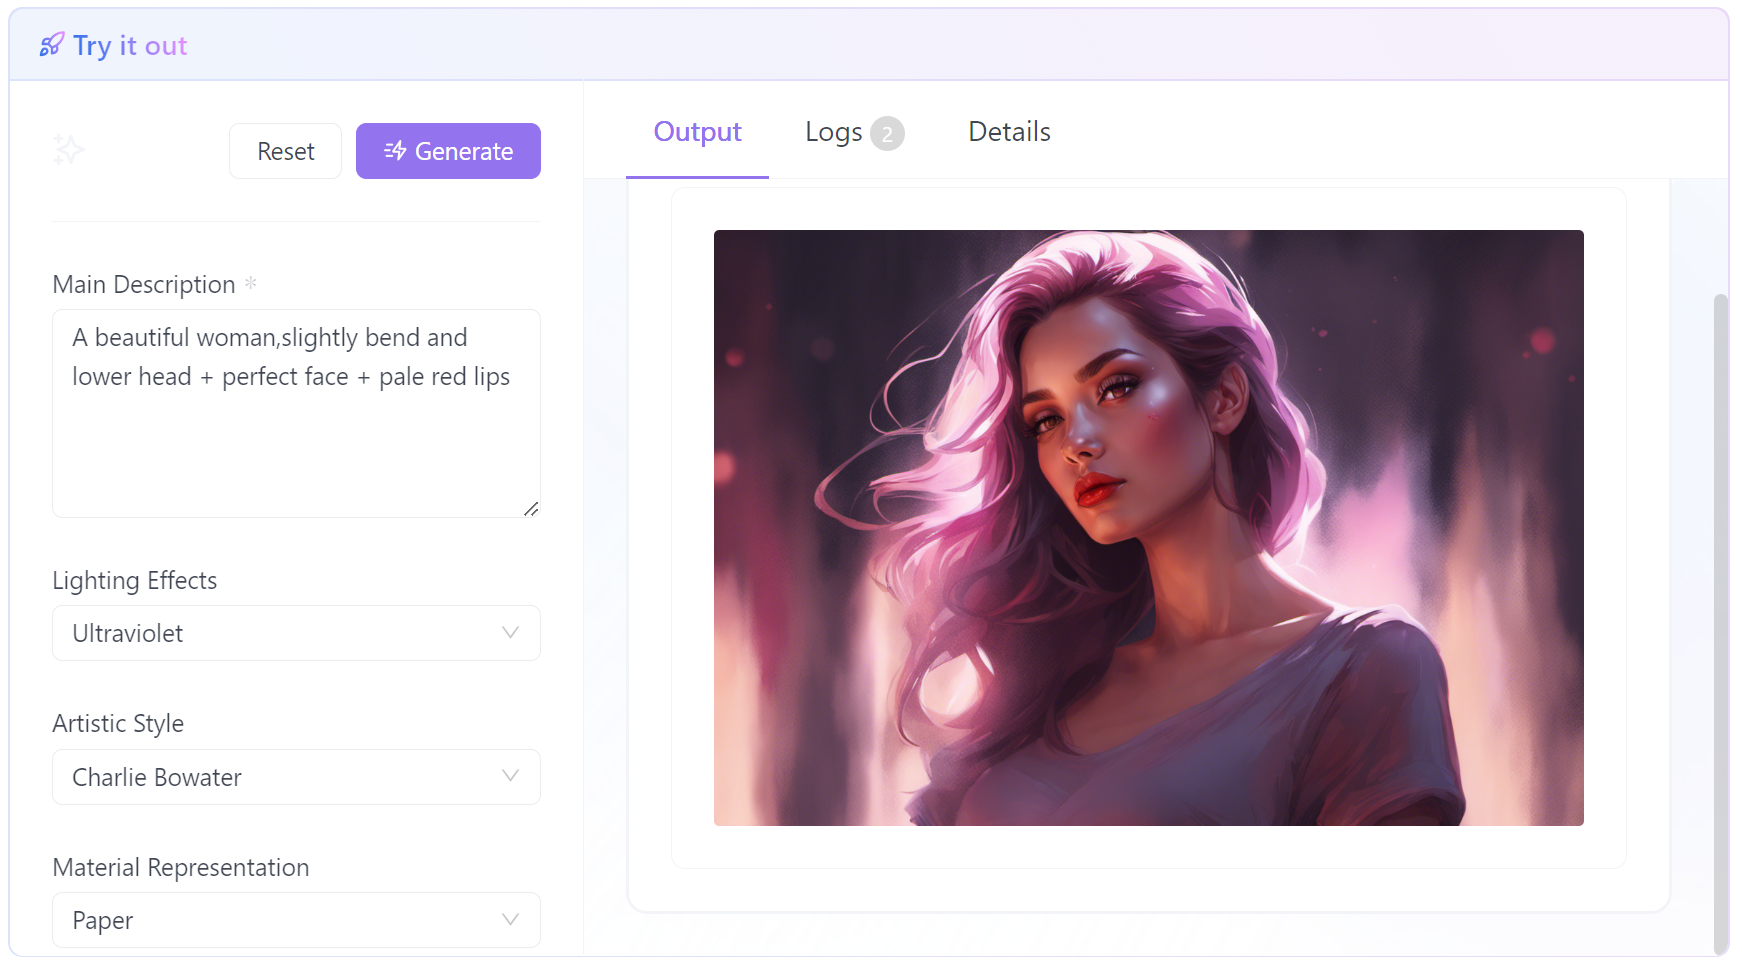
Instead of installing Stable Diffusion Locally, you can also try the Comfy UI Online that gives you quick results with ease 👇👇👇
Step 5. Launch Comfy UI: Use the standard launching command.
💡
Note: For NVIDIA GPU users on all platforms, follow the specific PyTorch installation instructions tailored for NVIDIA GPUs. You can find more detailed steps and troubleshooting on the Comfy UI GitHub page.
Download Stable Diffusion Models for Comfy UI
Setting up Comfy UI is straightforward. Next, you'll need a model checkpoint to generate images. If you're new, you can easily find these checkpoints on websites like CivitAI or HuggingFace.
Just download your preferred model and place it in the right directory. For seasoned users, good news! You can keep your existing files and simply point Comfy UI to their location.
Getting Started with Comfy UI
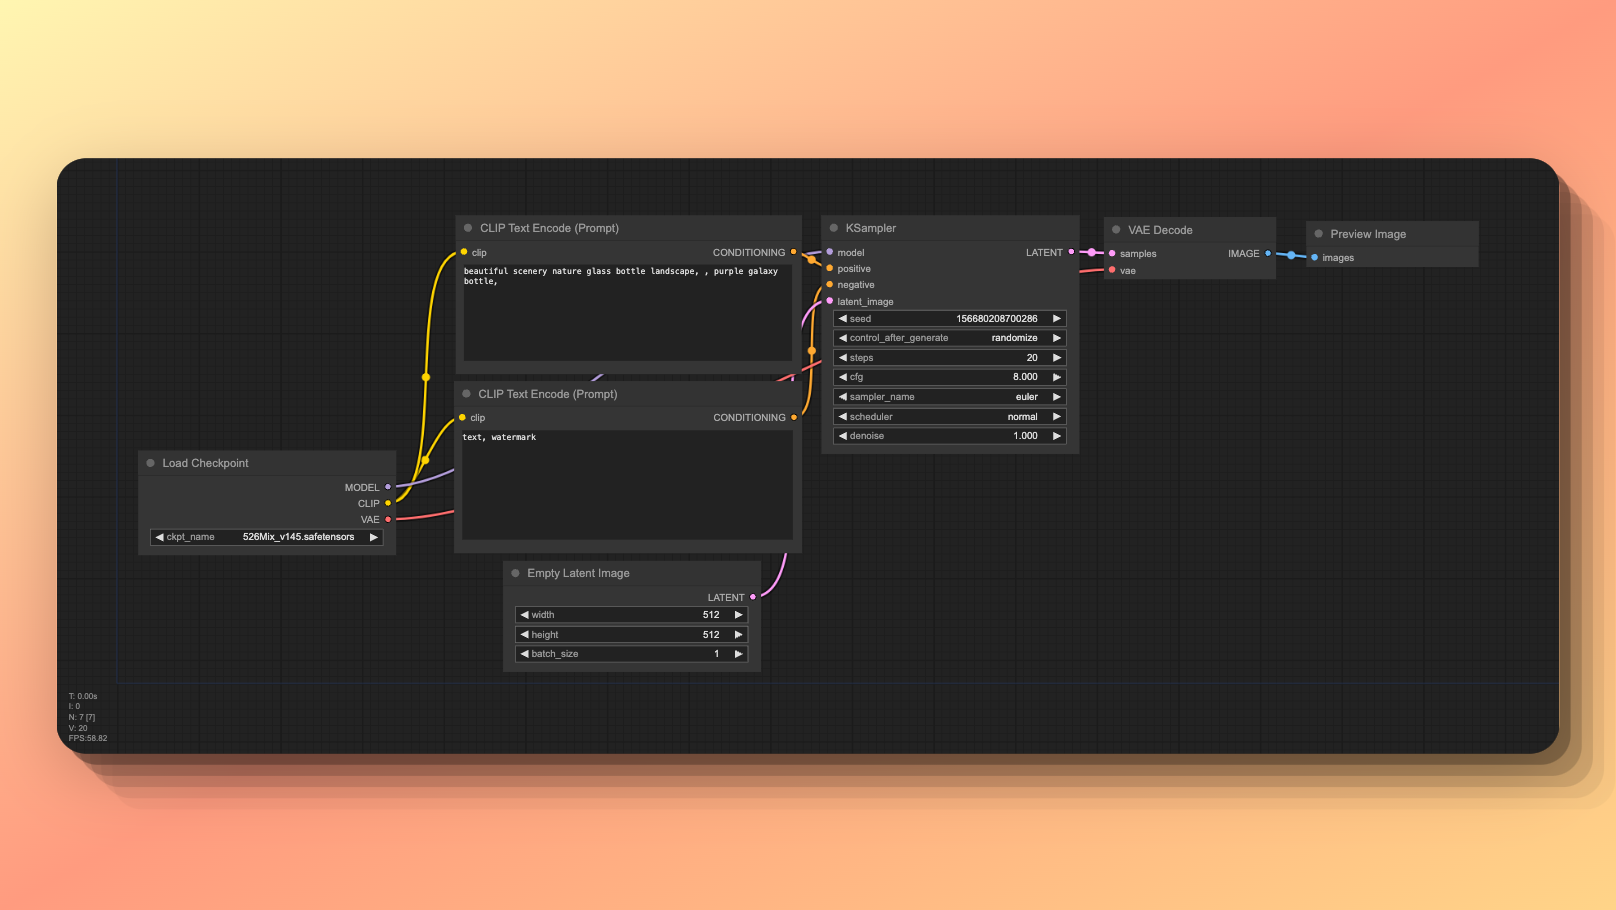
Once installed, you'll launch Comfy UI in a browser tab. The default workflow that loads up is your playground to start experimenting. Here's a quick guide to navigating it:
Canvas Movement: You can drag the canvas around or use the Space key and move your mouse. Zoom in and out with your scroll wheel.
Workflow Customization: Don't like the default setup? No worries! Customizing it is as simple as right-clicking to remove or add nodes. For example, you might want to add a Preview Image node to see your creations without saving them.
Creating Your First Image: Ready to see some magic? Hit Queue Prompt or use Cmd+Enter (Mac) or Ctrl+Enter (Windows), and voilà!
Comfy UI: Better than Automatic1111 WebUI for Stable Diffusion
Here are more resources for Comfy UI's workflow samples:
So, there you have it - a quick intro to Comfy UI. Excited? You should be! This tool opens up a world of creative possibilities with Stable Diffusion. Stay tuned for more detailed insights into making the most of Comfy UI.
💡
Tips for Optimizing ComfyUI Workflows:
Node Management: Keep your workflow clean by grouping related nodes and labeling them clearly.
Backup Regularly: Always save your workflows. You don’t want to lose your setup due to an unexpected crash.
Troubleshooting: If something isn’t working, try isolating the problem by temporarily removing nodes and seeing if the issue persists.
Understanding the Comfy UI Interface
Navigating Comfy UI's Default Flow
Welcome to the heart of Comfy UI! If you're new here, the default flow might look a bit daunting, but trust me, it's easier than it seems. Let's break down the basics:
Drag & Zoom: To move around the canvas, just drag or use Space + mouse movement. Zooming in and out is a breeze with your scroll wheel.
Resetting: Made a mistake? No stress. Hit Load Default to reset everything to its original state.
Modifying the Workflow in Comfy UI
Now, let’s tweak this default flow to better suit our needs. Say, you want to preview images without saving them immediately:
Remove Save Image Node: Right-click on it and select Remove.
Add Preview Image Node: Double-click on an empty space, type preview, and select the Preview Image option.
Connect Nodes: Drag from the IMAGE output of the VAE Decode node to the images input of your new Preview Image node.
That’s it! You're now set to preview your creations without cluttering your disk space.
Advanced Workflow Customization in Comfy UI
Building Complex Image Generation Pipelines
Alright, time to roll up your sleeves and dive into Comfy UI's real power – its node-based interface. This is where you can truly unleash your creativity. Here's how:
Explore Nodes: Each node in Comfy UI serves a specific function, like inverting colors, loading images, or adding padding for outpainting.
Connect the Dots: By linking these nodes, you can create complex workflows. Think of it as piecing together a puzzle where each piece is a step in your image generation process.
Crafting Workflows with Dozens of Nodes
Let's imagine you want to create a workflow that involves multiple steps, like loading an image, inverting its colors, padding it for outpainting, and then saving it. Here's a simple code-like example of how this might look:
Load Image -> Invert Image -> Pad Image for Outpainting -> Save Image
Each arrow represents a connection between nodes, guiding the flow of your process. The beauty of Comfy UI is that there’s no limit to how many nodes you can add or connect. Your workflow can be as simple or as elaborate as you need it to be.
In summary, Comfy UI offers an intuitive yet powerful platform for both newbies and veterans in the world of AI-generated art. With its flexible interface and diverse node options, the only limit is your imagination. Stay tuned as we delve even deeper into the capabilities of Comfy UI!
Core Nodes in Comfy UI: The Building Blocks
Invert Image Node in Comfy UI
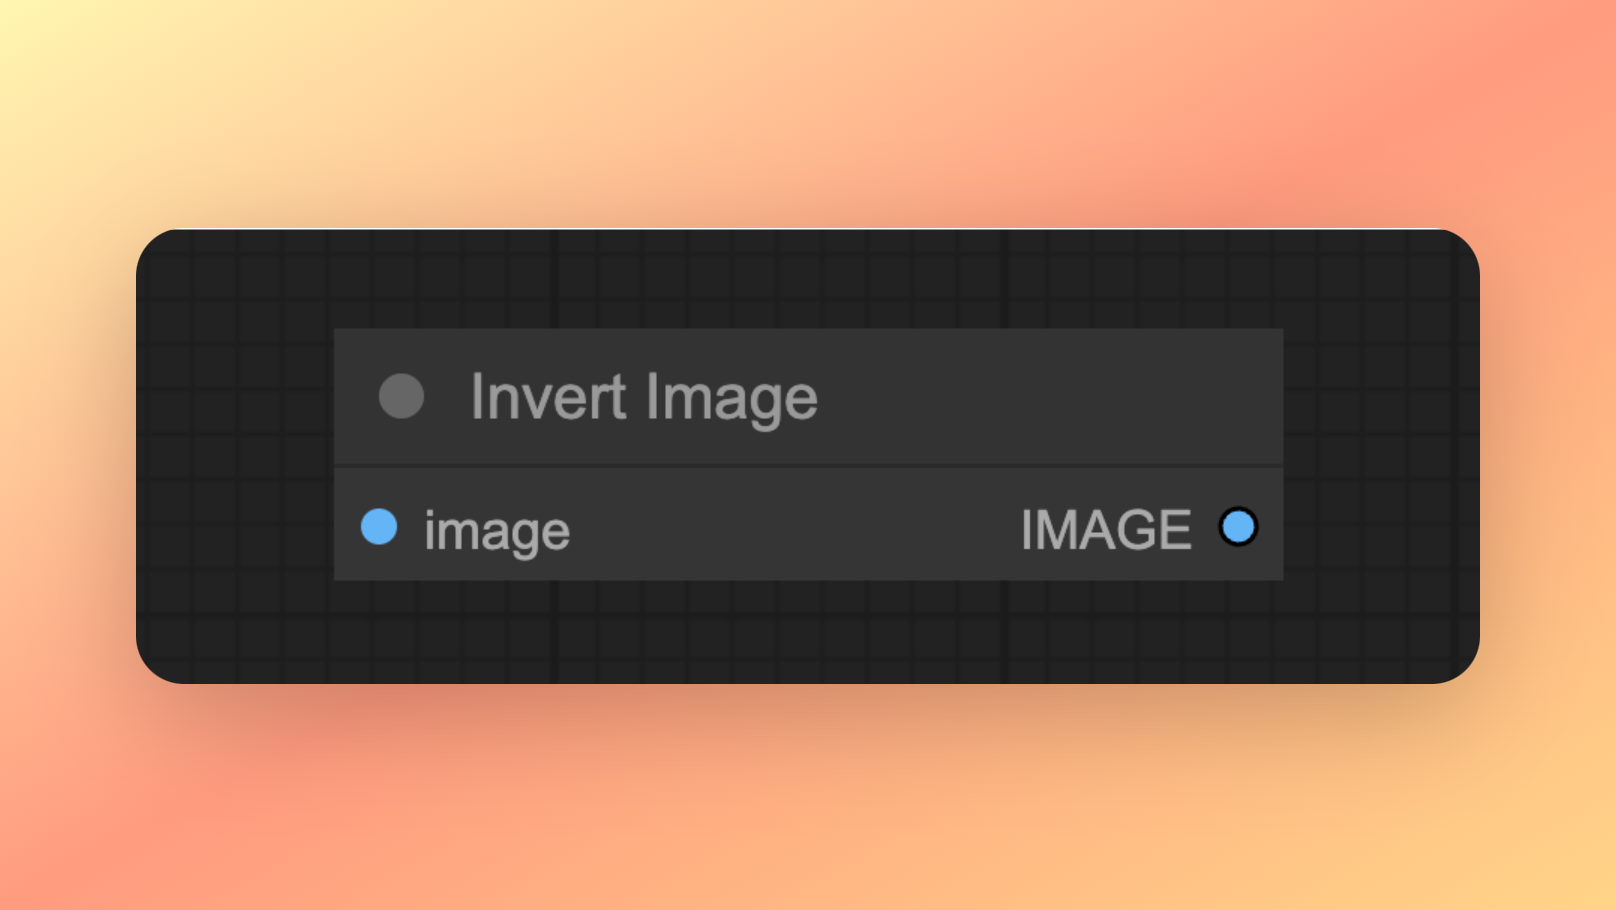
Inverting colors in an image? The Invert Image Node in Comfy UI is your go-to. Here's how it works:
Purpose: Flips the colors of an image – whites become black, blues become oranges, and so on.
Use Case: Perfect for creating striking contrasts or preparing images for specific artistic effects.
Load Image Node in Comfy UI
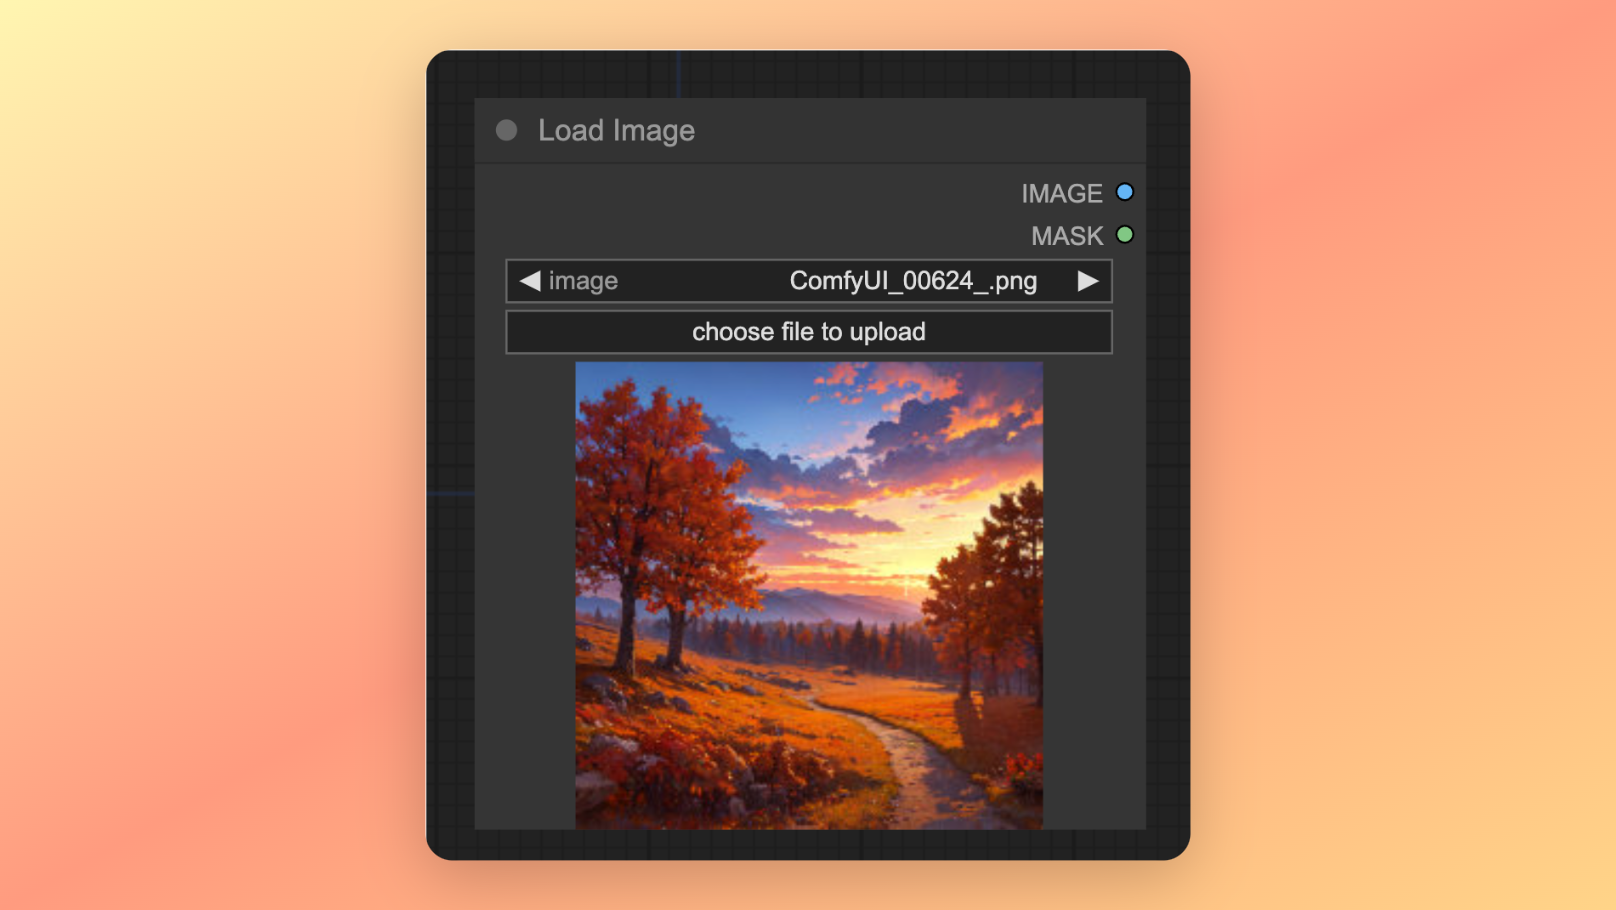
Got an image to work with? The Load Image Node is where you start.
Functionality: Upload images either through a file dialog or by dragging and dropping.
Location: By default, images are uploaded to Comfy UI's input folder.
Pad Image for Outpainting Node
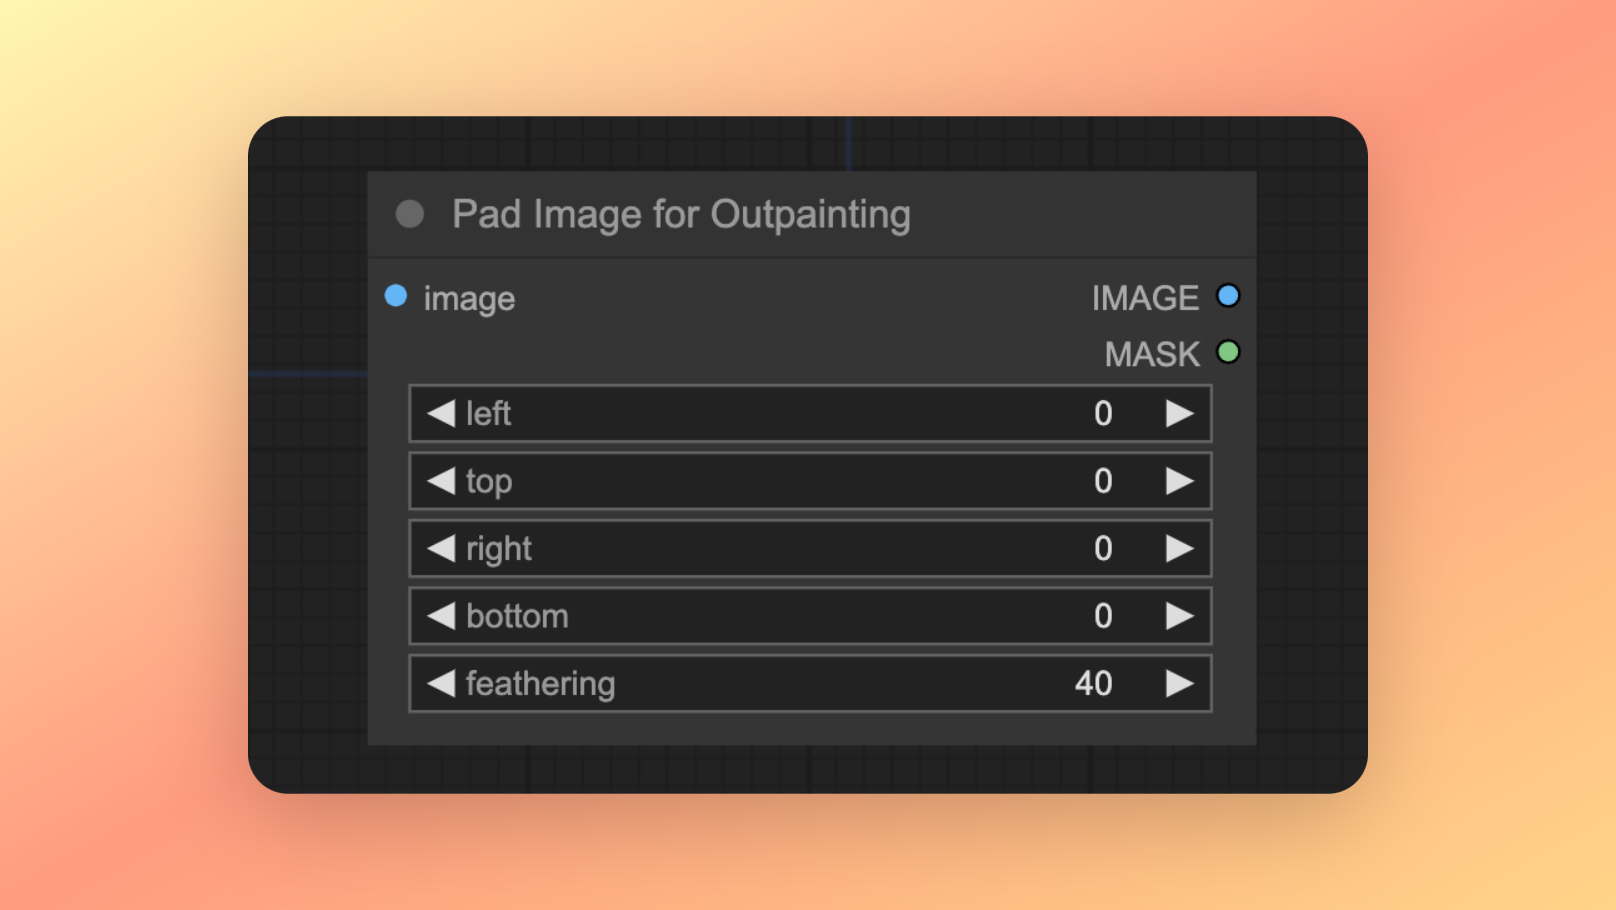
Expanding images? The Pad Image for Outpainting Node adds padding for outpainting.
Usage: Ideal for preparing images for inpaint diffusion models.
Customization: Adjust the amount of padding on different sides of your image.
Preview Image Node
Want a sneak peek? The Preview Image Node lets you do just that.
Previewing: See your images in the workflow without saving them.
Output: This node doesn’t output images, it's for preview only.
Save Image Node
Ready to save? The Save Image Node is key.
Saving Images: Customize file names with dynamic prefixes.
Organization: Helps keep track of your creations efficiently.
Upscale Image Node
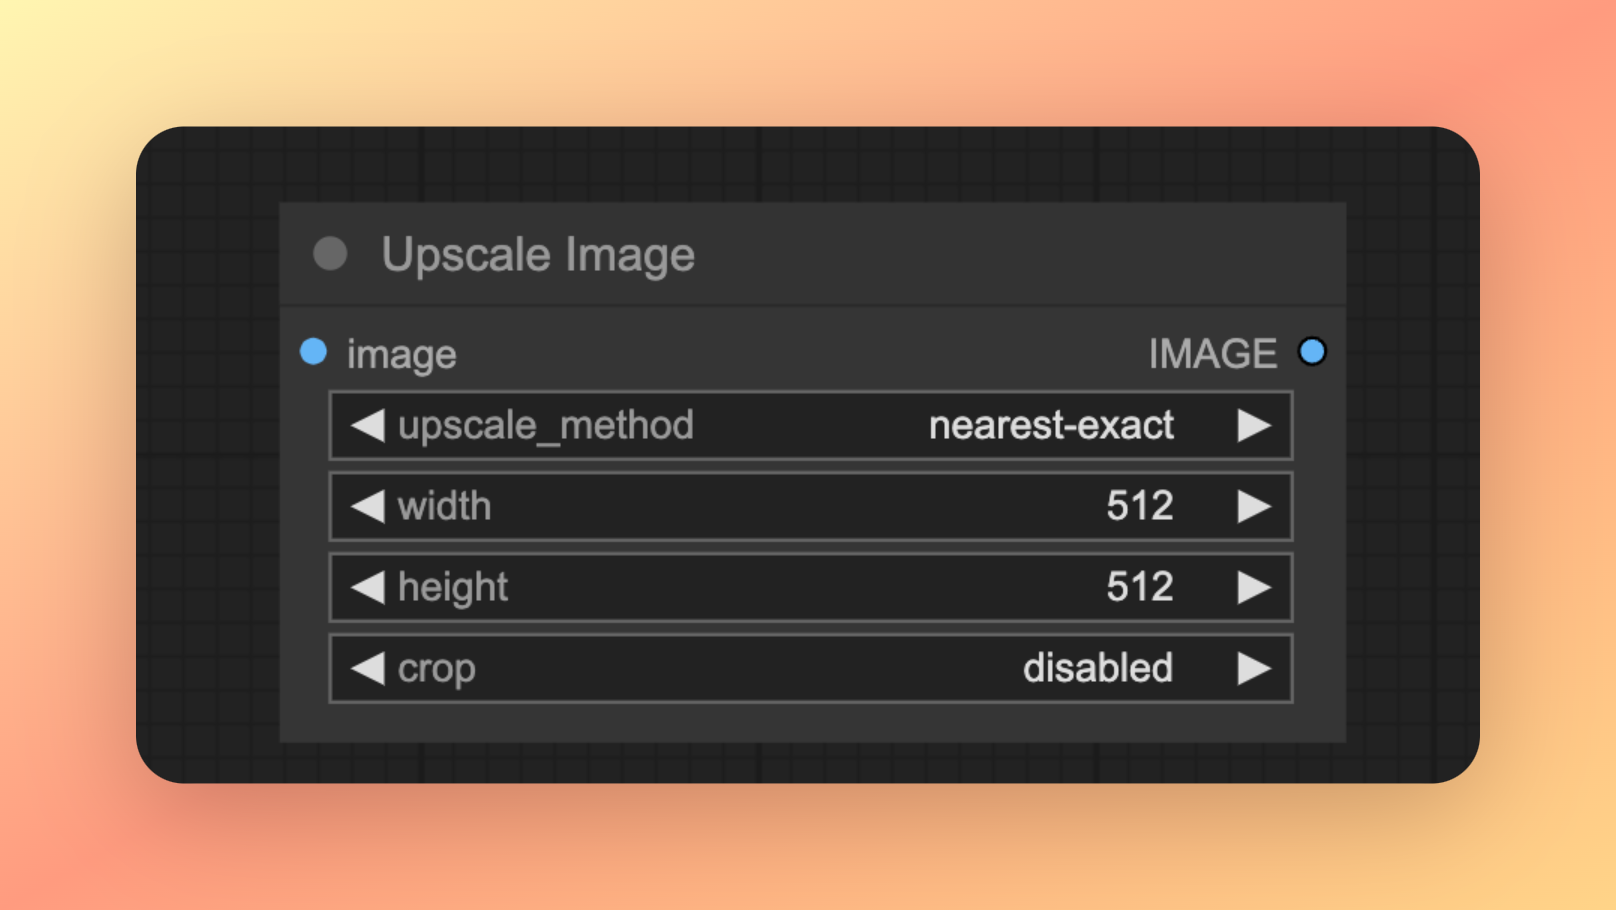
Need higher resolution? The Upscale Image Node enlarges images.
Upscaling: Choose your desired width and height.
Aspect Ratio: Options to crop and maintain the original aspect ratio.
In Comfy UI, these core nodes form the backbone of your creative process, offering a wide range of functionalities from basic image manipulation to complex customizations. Each node is a powerful tool, and when combined, they unlock endless possibilities in image generation. Stay tuned as we explore more about the versatility and capabilities of Comfy UI!
How to Load, Invert, Upscale Image in Comfy UI
Invert Image Node in Comfy UI
The Invert Image Node is a simple yet powerful tool in Comfy UI's arsenal.
Function: This node inverts the colors of your image, creating a negative effect.
Application: It's fantastic for artistic endeavors where you need to create a dramatic effect or when preparing a base for further processing.
Load Image Node in Comfy UI
The Load Image Node is your gateway to importing images into Comfy UI.
How it Works: You can upload images through a dialog box or by dragging and dropping them onto the node.
Flexibility: It's versatile and supports a variety of image formats, ensuring you're not limited in your choice of source material.
Pad Image for Outpainting Node in Comfy UI
Expanding the canvas of your creativity? The Pad Image for Outpainting Node is what you need.
Purpose: This node adds padding around your image, which is particularly useful for outpainting processes.
Customization: You have control over how much padding to add on each side, offering a lot of flexibility for different creative needs.
Upscale Image Node in Comfy UI
Enhancing image resolution? The Upscale Image Node is your friend.
Functionality: It resizes your images, allowing you to increase their dimensions without losing quality.
Versatility: Whether it’s for printing in larger formats or ensuring clarity on various digital platforms, this node is invaluable.
Each of these nodes in Comfy UI plays a vital role in the creative journey. From loading and transforming images to saving them with precision, they collectively provide a comprehensive toolkit for anyone diving into the world of AI-assisted image generation. Stay tuned as we continue to explore the endless possibilities with Comfy UI!
How to Use Control Net with Comfy UI
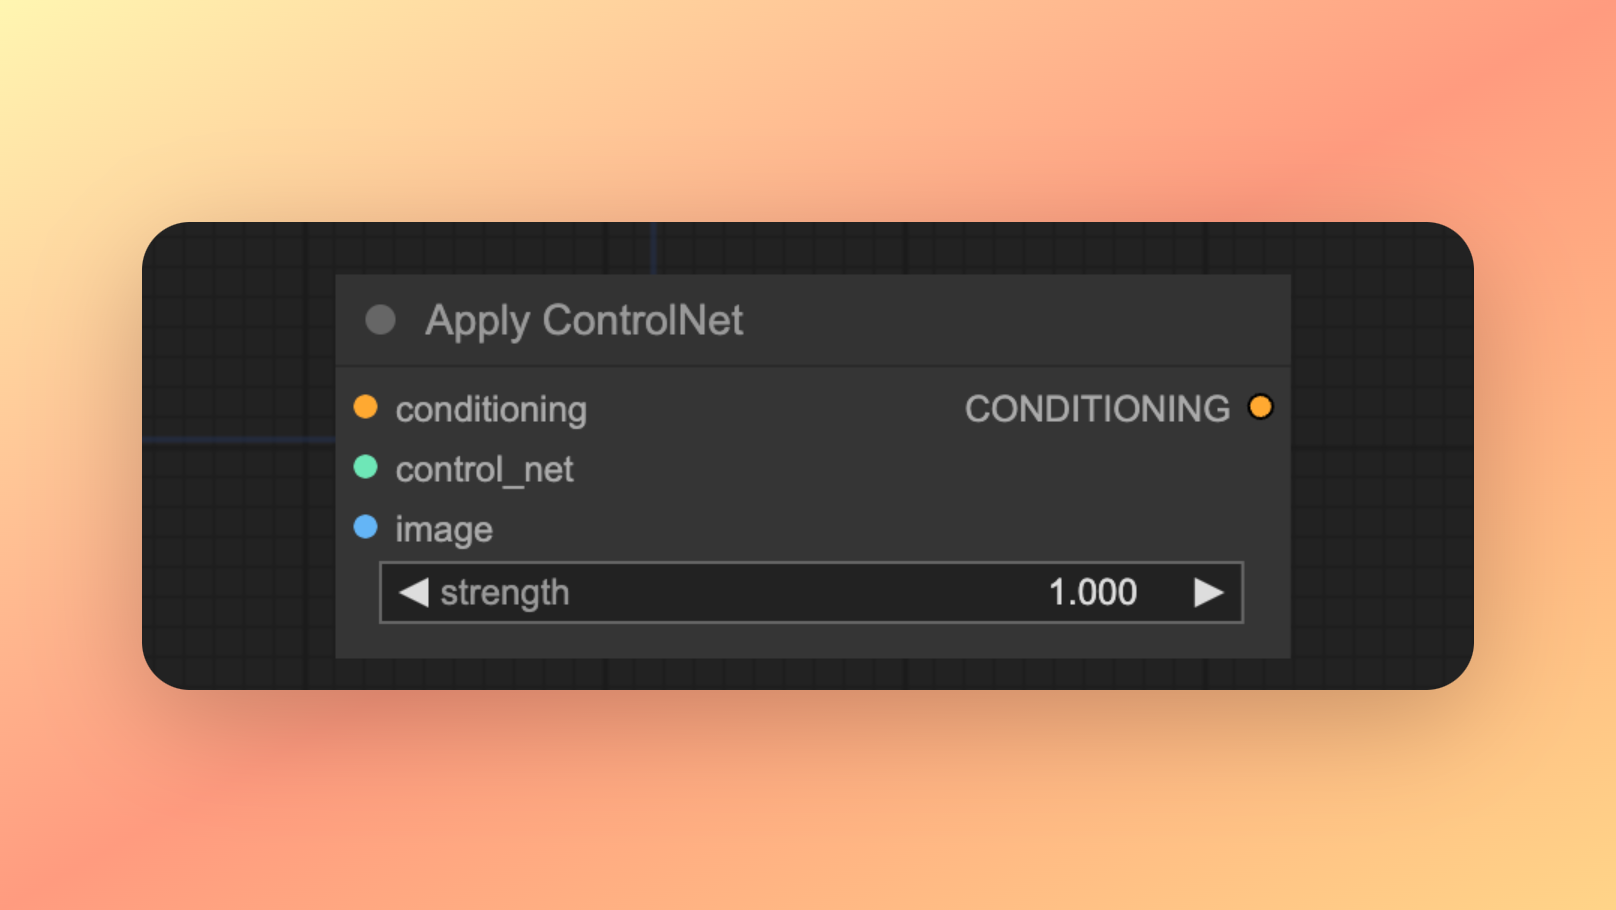
Using ControlNet in Comfy UI is an advanced feature for fine-tuning your image generation process. Here's a brief guide:
Access ControlNet Node: Find and add the 'Apply ControlNet' node in your workflow.
Set Up Parameters: Configure the node by specifying the control net model and other parameters as required.
Integrate with Workflow: Connect this node in your existing workflow, typically after the 'Prompt to Latent' node and before the 'VAE Decode' node.
Experiment: Adjust settings and experiment with different configurations to see how they affect your output.
This feature offers more control over the nuances of image generation, allowing for even more customized and precise results in Comfy UI.
File Management and Organization in Comfy UI
Organizing Generated Images with Save File Formatting
In Comfy UI, staying organized is key, especially when you're generating tons of images.
Save File Formatting: This feature in Comfy UI is a lifesaver. You can use specially formatted strings in output nodes to organize your images efficiently.
Custom Prefixes: The file_prefix widget allows you to add dynamic elements to your filenames, like resolution or date, making it easier to sort and find your images.
How to Save Files S&R in Comfy UI
Dynamic File Naming with Node Widgets and Date Info
How It Works: You can insert values from node widgets directly into file names using %node_name.widget_name% syntax. For example, %Empty Latent Image.width%x%Empty Latent Image.height%.
Date Insertion: Comfy UI also lets you add date info using %date:FORMAT%. This way, you can track when each image was created, down to the second!
How to Fine-tune Prompts In Comfy UI
In Comfy UI, you have several ways to fine-tune your prompts for more precise results:
Up and Down Weighting: You can emphasize certain parts of your prompt by using the syntax (prompt:weight). For instance, for the prompt "flowers inside a blue vase," if you want to focus more on the flowers, you could write (flowers:1.2) inside a blue vase. Nested brackets multiply the weights.
Textual Inversion Embeddings: Utilize custom CLIP embeddings by incorporating them into your prompt with embedding:name, where 'name' is the embedding file's name.
Random Choices: Let ComfyUI randomly select from options in your prompt using {choice1|choice2|...} syntax. For example, "a {red|blue|yellow|green} flower."
You can adjust these settings directly in the prompt interface or use shortcuts like Ctrl+Up and Ctrl+Down to modify weights.
How to Use Shortcuts in Comfy UI
Here's a handy table of key shortcuts in Comfy UI to streamline your workflow:
Shortcut
Action
Ctrl + S
Save the current flow
Ctrl + O
Load a flow
Ctrl + Z
Undo the last action
Ctrl + Y
Redo an action
Ctrl + C
Copy selected nodes
Ctrl + V
Paste copied nodes
Ctrl + X
Cut selected nodes
Ctrl + A
Select all nodes
Ctrl + D
Deselect all nodes
Ctrl + Shift + S
Save flow as
These shortcuts enhance efficiency, making your experience with Comfy UI smoother and more productive. For a complete list of shortcuts, check out the Comfy UI documentation on Shortcuts.
FAQs about ComfyUI
What is Comfy Stable Diffusion?
ComfyUI is a node-based GUI for Stable Diffusion, where you can create an image generation workflow by chaining different blocks (nodes) together. Common blocks include Loading a Checkpoint Model, entering prompts, and specifying samplers.
Is Comfy UI Offline?
Yes, Comfy UI works fully offline and does not download anything. It uses a config file to set search paths for models.
Does ComfyUI Work on Mac?
Yes, ComfyUI can be installed on Mac, specifically on MacOS 12.3 or higher for MPS acceleration support. Installation involves setting up ComfyUI in a virtual environment.
How to Run ComfyUI on Linux?
To install ComfyUI on Linux, follow these steps:
Clone the repo in a command prompt or terminal.
Create a virtual environment.
Install dependencies.
Run ComfyUI.
Is Comfy UI Free?
Yes, Comfy UI is free and open-source, and perfectly suitable for Stable Diffusion Project at all sizes.
Conclusion: Embracing the Power of Comfy UI
In wrapping up, Comfy UI emerges as a robust and flexible GUI for Stable Diffusion, offering an intuitive, node-based interface that's both beginner-friendly and advanced enough for seasoned creators. Whether you're inverting colors, upscaling images, or constructing complex image generation workflows, Comfy UI equips you with the tools needed for your artistic endeavors. Its ability to efficiently manage and organize files elevates it further, making it a go-to choice for digital artists. Dive into the world of Comfy UI, experiment with its myriad of features, and watch as your creative horizons expand!
💡
Instead of installing Stable Diffusion Locally, you can also try the Comfy UI Online that gives you quick results with ease 👇👇👇