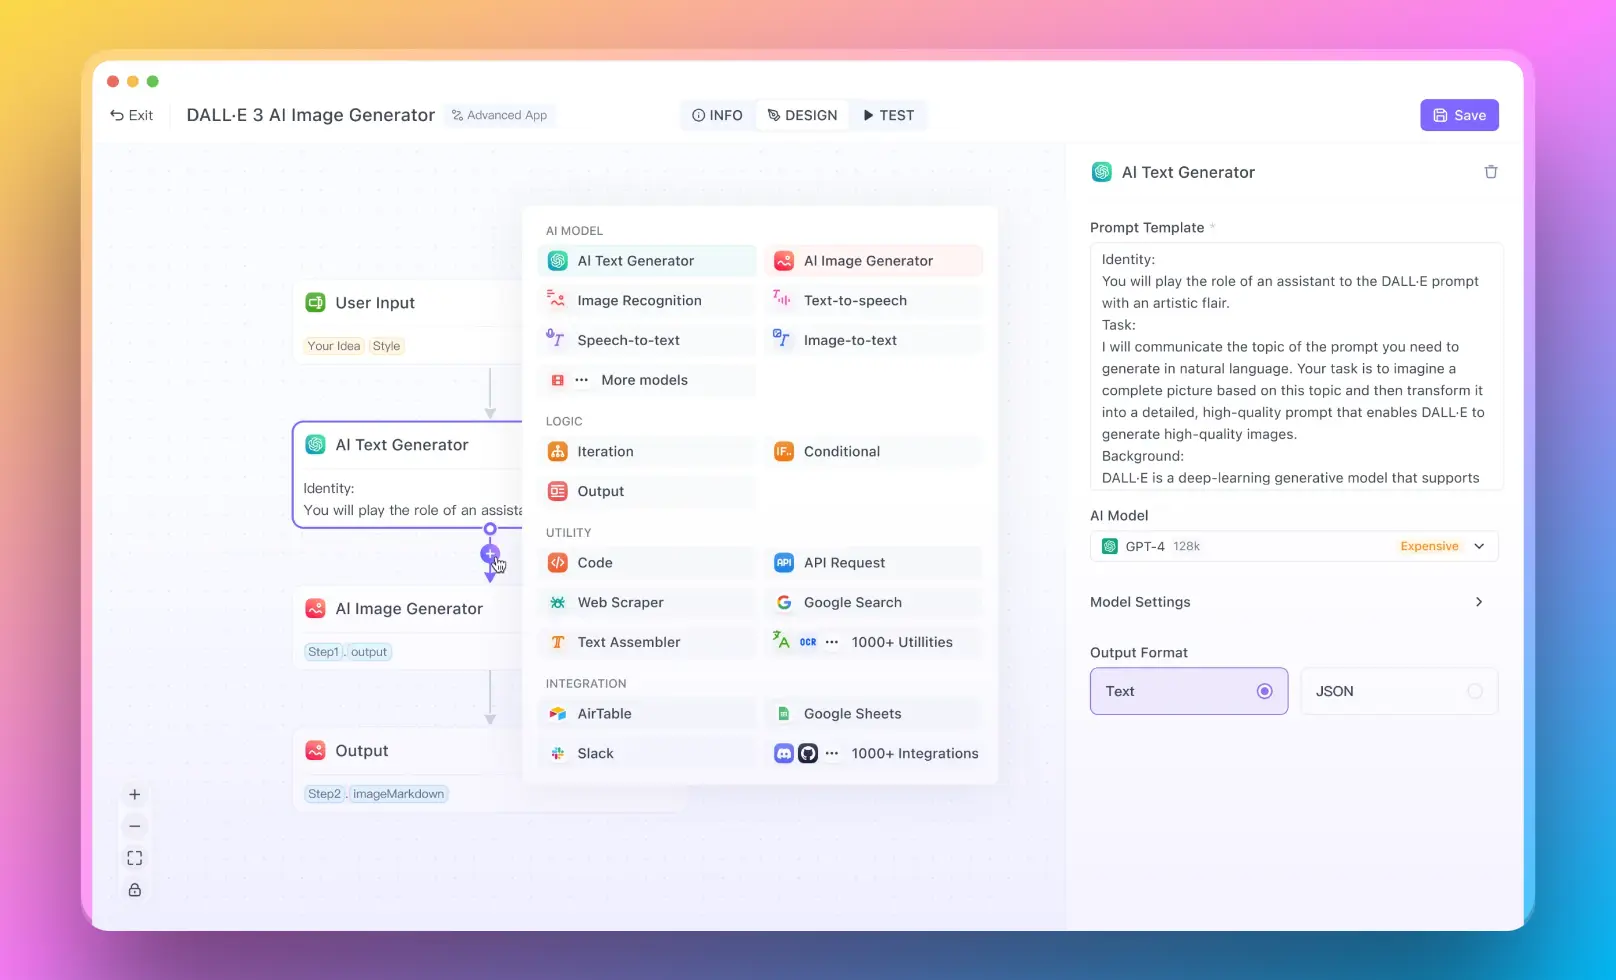
Then, You cannot miss out Anakin AI!
Anakin AI is an all-in-one platform for all your workflow automation, create powerful AI App with an easy-to-use No Code App Builder, with Llama 3, Claude Sonnet 3.5, GPT-4, Uncensored LLMs, Stable Diffusion...
Build Your Dream AI App within minutes, not weeks with Anakin AI!

Introduction
LangGraph is a powerful library for building stateful, multi-actor applications with Large Language Models (LLMs). This guide will walk you through the process of using LangGraph, from installation to creating complex AI agents, with detailed code examples.
1. Installation and Setup
First, let's install LangGraph and its dependencies:
pip install langgraph langchain langchain_openai tavily-python
Next, set up your environment variables:
import os
os.environ["OPENAI_API_KEY"] = "your-openai-api-key"
os.environ["TAVILY_API_KEY"] = "your-tavily-api-key"
2. Creating a Basic LangGraph Application
Let's create a simple agent that can search the internet and answer questions.
Step 1: Import necessary modules
from langchain_openai import ChatOpenAI
from langchain_community.tools.tavily_search import TavilySearchResults
from langchain.tools import Tool
from langchain.prompts import ChatPromptTemplate
from langchain_core.messages import HumanMessage, AIMessage, FunctionMessage
from langgraph.graph import StateGraph, END
from langgraph.prebuilt import ToolExecutor
import json
from typing import TypedDict, Annotated, List
Step 2: Define the state and tools
class State(TypedDict):
    messages: Annotated[List[HumanMessage | AIMessage | FunctionMessage], "The messages in the conversation"]

tools = [TavilySearchResults(max_results=1)]
tool_executor = ToolExecutor(tools)
model = ChatOpenAI(temperature=0).bind_tools(tools)
Step 3: Create agent and action nodes
def agent_node(state):
    messages = state['messages']
    response = model.invoke(messages)
    return {"messages": [response]}

def action_node(state):
    messages = state['messages']
    last_message = messages[-1]
    action = last_message.additional_kwargs["function_call"]
    result = tool_executor.invoke(action)
    return {"messages": [FunctionMessage(content=str(result), name=action["name"])]}

def should_continue(state):
    messages = state['messages']
    last_message = messages[-1]
    if isinstance(last_message, AIMessage) and "function_call" in last_message.additional_kwargs:
        return "continue"
    return "end"
Step 4: Create the graph structure
workflow = StateGraph(State)
workflow.add_node("agent", agent_node)
workflow.add_node("action", action_node)
workflow.set_entry_point("agent")

workflow.add_conditional_edges(
    "agent",
    should_continue,
    {
        "continue": "action",
        "end": END
    }
)
workflow.add_edge("action", "agent")
Step 5: Compile and run the graph
app = workflow.compile()
inputs = {"messages": [HumanMessage(content="What is the weather in San Francisco?")]}
result = app.invoke(inputs)

for message in result['messages']:
    print(f"{message.type}: {message.content}")
3. Advanced Features of LangGraph
Persistence
LangGraph offers built-in persistence capabilities. Here's how to use them:
from langgraph.checkpoint.sqlite import SqliteSaver

memory = SqliteSaver.from_conn_string(":memory:")
app = workflow.compile(checkpointer=memory)

# Run the graph with persistence
result = app.invoke(inputs)

# Resume from a checkpoint
checkpoint_id = result['checkpoint_id']
resumed_result = app.invoke(inputs, checkpoint_id=checkpoint_id)
Streaming
To stream outputs as they are produced:
for event in app.stream(inputs):
    for key, value in event.items():
        if key == 'messages':
            print(f"New message: {value[-1].content}")
Human-in-the-Loop
To incorporate human feedback:
def human_approval_node(state):
    print("Current state:", state)
    approval = input("Approve? (yes/no): ")
    return {"approved": approval.lower() == "yes"}

workflow.add_node("human_approval", human_approval_node)
workflow.add_edge("agent", "human_approval")
workflow.add_conditional_edges(
    "human_approval",
    lambda x: "continue" if x["approved"] else "end",
    {
        "continue": "action",
        "end": END
    }
)
4. Building a More Complex Application with LangGraph
Let's create a multi-agent system for collaborative task solving.
Step 1: Define multiple agents
def researcher_agent(state):
    # Logic for researching information
    return {"messages": [AIMessage(content="Research results...")]}

def writer_agent(state):
    # Logic for writing content based on research
    return {"messages": [AIMessage(content="Written content...")]}

def editor_agent(state):
    # Logic for editing and refining content
    return {"messages": [AIMessage(content="Edited content...")]}
Step 2: Create a more complex graph
workflow = StateGraph(State)
workflow.add_node("researcher", researcher_agent)
workflow.add_node("writer", writer_agent)
workflow.add_node("editor", editor_agent)
workflow.set_entry_point("researcher")

workflow.add_edge("researcher", "writer")
workflow.add_edge("writer", "editor")
workflow.add_conditional_edges(
    "editor",
    lambda x: "refine" if "needs_refinement" in x['messages'][-1].content else "end",
    {
        "refine": "writer",
        "end": END
    }
)
Step 3: Implement advanced features
# Add streaming support
app = workflow.compile()
for event in app.stream({"messages": [HumanMessage(content="Write a report on AI advancements")]}):
    print(f"Current step: {event['current_step']}")
    if 'messages' in event:
        print(f"Latest message: {event['messages'][-1].content}")

# Add persistence
memory = SqliteSaver.from_conn_string("collaborative_agents.db")
app_with_persistence = workflow.compile(checkpointer=memory)

# Run with persistence
result = app_with_persistence.invoke({"messages": [HumanMessage(content="Write a report on AI advancements")]})
checkpoint_id = result['checkpoint_id']

# Resume from checkpoint
resumed_result = app_with_persistence.invoke({}, checkpoint_id=checkpoint_id)
5. Best Practices and Tips for Using LangGraph
- State Management: Keep your state object clean and well-structured. Use type hints for clarity:
class DetailedState(TypedDict):
    messages: List[HumanMessage | AIMessage | FunctionMessage]
    research_data: dict
    draft_content: str
    edit_history: List[str]
- Error Handling: Implement try-except blocks in your node functions:
def safe_researcher_agent(state):
    try:
        # Research logic here
        return {"messages": [AIMessage(content="Research results...")]}
    except Exception as e:
        return {"messages": [AIMessage(content=f"Error in research: {str(e)}")]}
- Modular Design: Break down complex logic into smaller, reusable functions:
def perform_research(query):
    # Research logic
    pass

def analyze_results(research_data):
    # Analysis logic
    pass

def researcher_agent(state):
    query = state['messages'][-1].content
    research_data = perform_research(query)
    analysis = analyze_results(research_data)
    return {"messages": [AIMessage(content=analysis)], "research_data": research_data}
- Testing: Create unit tests for individual nodes and integration tests for the entire graph:
import unittest

class TestResearcherAgent(unittest.TestCase):
    def test_researcher_agent(self):
        state = {"messages": [HumanMessage(content="Research AI")]}
        result = researcher_agent(state)
        self.assertIn("messages", result)
        self.assertIn("research_data", result)

if __name__ == '__main__':
    unittest.main()
- Documentation: Add detailed docstrings to your functions and classes:
def editor_agent(state: State) -> State:
    """
    Edits and refines the content provided by the writer agent.

    Args:
        state (State): The current state containing messages and draft content.

    Returns:
        State: Updated state with edited content and potential refinement flags.
    """
    # Editing logic here
    pass
Conclusion
This guide has provided a comprehensive overview of how to use LangGraph, from basic setup to creating complex multi-agent systems. By following these steps and best practices, you can leverage LangGraph to build sophisticated, stateful AI applications that can handle a wide range of tasks and scenarios. Remember to experiment with different graph structures and node implementations to find the best approach for your specific use case.
Then, You cannot miss out Anakin AI!
Anakin AI is an all-in-one platform for all your workflow automation, create powerful AI App with an easy-to-use No Code App Builder, with Llama 3, Claude Sonnet 3.5, GPT-4, Uncensored LLMs, Stable Diffusion...
Build Your Dream AI App within minutes, not weeks with Anakin AI!


