Have you ever wondered how to create AI-generated images that look exactly like you or someone you know? What if it only costs you less than $5? With the power of FluxAI, you can now build a personalized model that can whip up stunning, lifelike images with just a few clicks. This tutorial is your complete, no-nonsense guide to transforming your photos into an AI model that you fully control.
By the end of this step-by-step tutorial, you’ll be able to train a model from scratch in three easy phases: creating the dataset, fine-tuning it, and performing the final inference. Whether you’re looking to create professional headshots or just want to experiment with AI-generated art, this guide will walk you through the entire process, using the Oostris AI Lora Toolkit on Replicate.
Note: If you want to use FLUX Lora, Pro, Dev, and Schnell to generate ultra-realistic images for your work, I found a great website. Introducing Anakin Ai an All-In-One AI platform that lets you use every FLUX model commercially for free


1. Dataset Creation
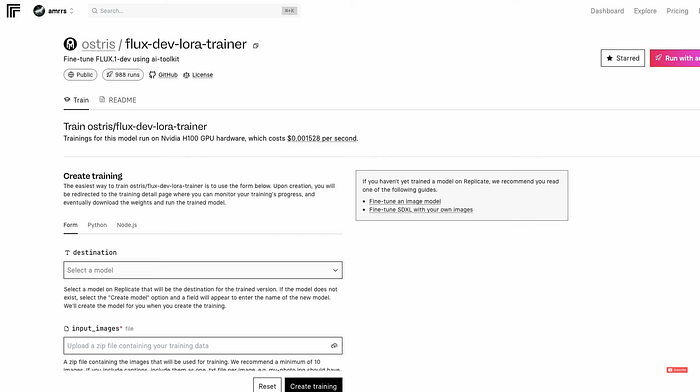
Gathering and Preparing Images
The first step in training a FluxAI model is to assemble a comprehensive set of images. The quality and variety of these images play a critical role in shaping how well the model performs.
- Number of Images
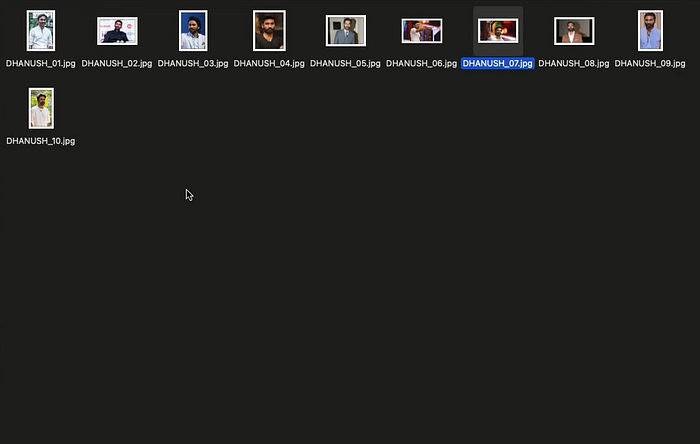
Based on extensive experimentation and input from the online AI community, the Flux Lura model performs well with as few as 10 images. However, it’s recommended to use no more than 15 images to avoid inconsistencies in the output.
- Image Variety
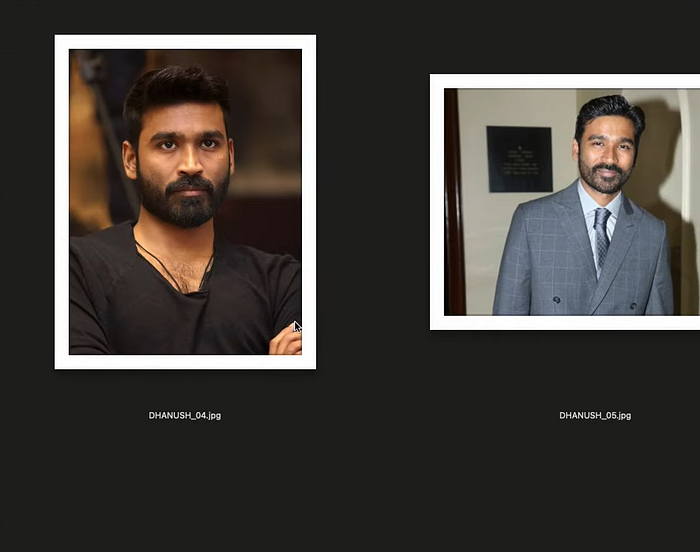
Include a broad range of poses, angles, and backgrounds. This helps the model capture various features and enhances the final output quality.
- Avoid Distracting Elements
Ensure there are no repetitive or unique elements in the images, such as specific accessories or props. These could introduce unwanted bias during training. For instance, using images where the subject is consistently wearing the same eyeglasses might confuse the model.
After collecting the images, save them in a folder and compress them into a zip file. This compressed file will be used as the training dataset for the model.
Optional: Creating a Caption Dataset for Enhanced Results
For those seeking even better outcomes, creating a caption dataset for each image can significantly improve the model’s performance. For example, if one image depicts a person standing under a tree, the caption could be something like, “A person standing under a tree”. These captions should be stored in a .txt file. However, if this step is skipped, Replicate’s interface can generate captions automatically.
2. Model Creation and Fine-Tuning
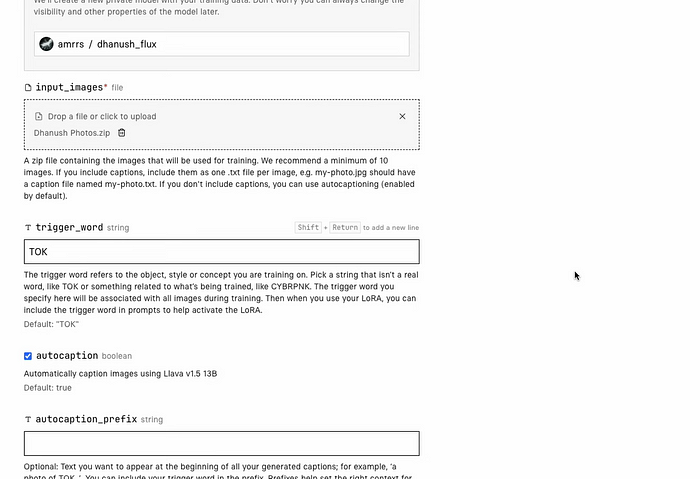
Setting Up the Model on Replicate
- Creating the Model: Visit the Replicate website and create a new model. This model serves as a placeholder, where users can upload their datasets and customize settings. Choose a memorable name for the model to simplify future references.
- Uploading the Images: Upload the zip file containing the training images into the newly created model on Replicate.
- Defining the Trigger Word: The trigger word is a unique identifier that will invoke this specific model. Choose a word or phrase that’s distinct and easy to remember, like “photo_of_danush” for a particular individual or “artistic_style” for creative applications.
Setting the Training Parameters
The training duration depends on the number of steps and the computational power available:
- Number of Steps: To achieve balanced and safe results, it’s recommended to train the model for 1,500–2,000 steps. With 2,000 steps, the process took approximately 45 minutes using an H100 GPU. Opting for fewer steps, such as 1,200 or 1,500, can reduce training time and cost.
- Auto-Captioning: Enable the auto-captioning feature if a manual caption dataset is not available. This ensures that Replicate generates captions for the uploaded images.
- Trigger Word Verification: Double-check that the trigger word is set correctly, as this will influence how the model interprets and generates images based on the input prompts.
Storing the Model on Hugging Face (Optional but Recommended)
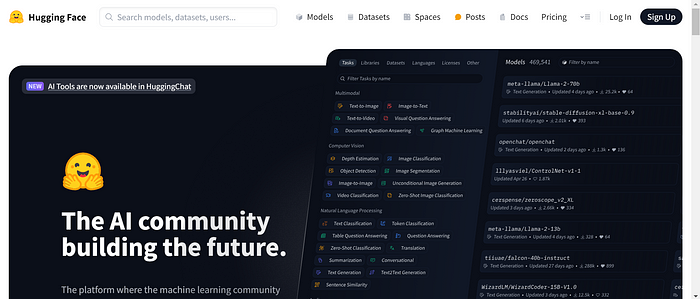
Storing the trained model on Hugging Face’s Model Hub offers numerous benefits, such as easier access and sharing options:
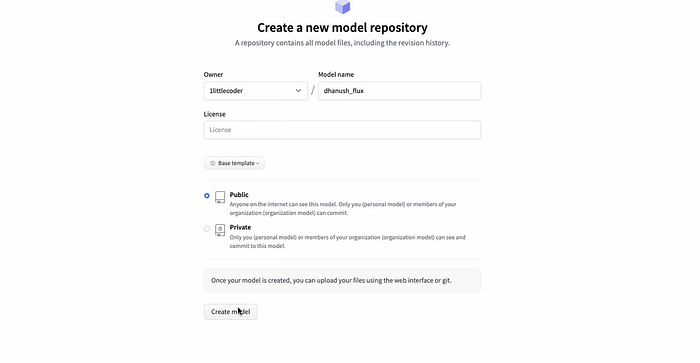
- Create a new repository on your Hugging Face profile.
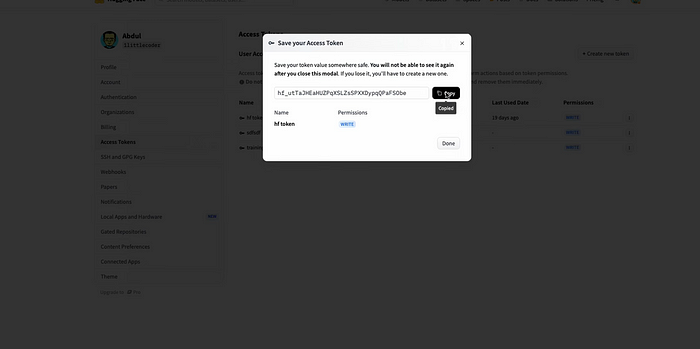
2. Generate a write permission token and paste it into Replicate’s settings.
3. Link your Hugging Face repository with the trained model from Replicate.
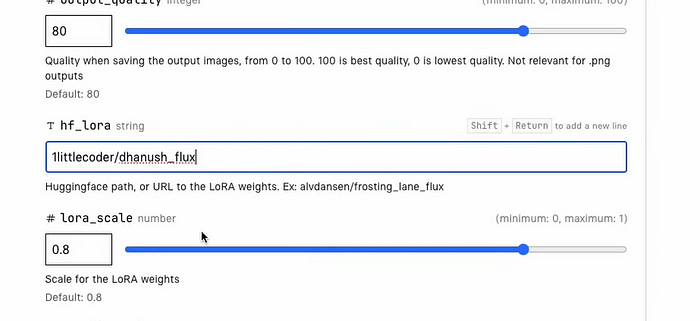
This setup ensures that the model is securely stored and easily accessible for future use.
3. Model Inference and Testing
Running the Model on Various Platforms
Once the model is trained, users can test its performance. While the model can be run directly on Replicate, there are other platforms that provide a more flexible environment:
- Google Colab: Ideal for those familiar with coding and seeking a more customizable setup.
- Local Machine: The model can be downloaded and run on a local machine if the necessary hardware is available.
- Hugging Face: The model stored on Hugging Face can serve as input for various AI platforms.
Adjusting the Lura Strength
The Lura strength parameter determines how much influence the fine-tuned model has on the final image generation:
- High Lura Strength: Results in outputs that closely resemble the training images.
- Low Lura Strength: Balances the base model with the fine-tuned model, producing a more generic look.
It’s recommended to experiment with different Lura strengths to find the right balance for each specific project.
Testing the Model with Prompts
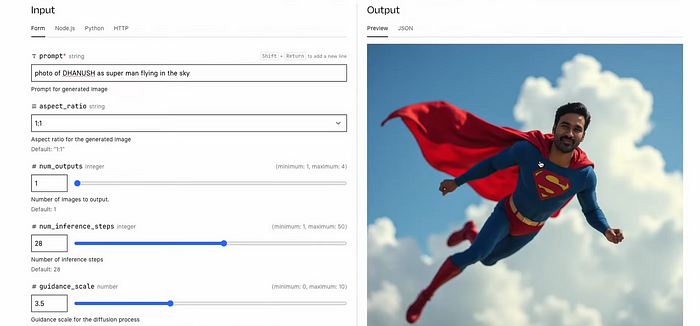
Using the predefined trigger word, the model can generate endless variations of images based on different prompts. For example:
- Prompt 1: photo_of_danush as Superman flying in the sky
- Prompt 2: LinkedIn headshot of danush, professional photo, DSLR quality
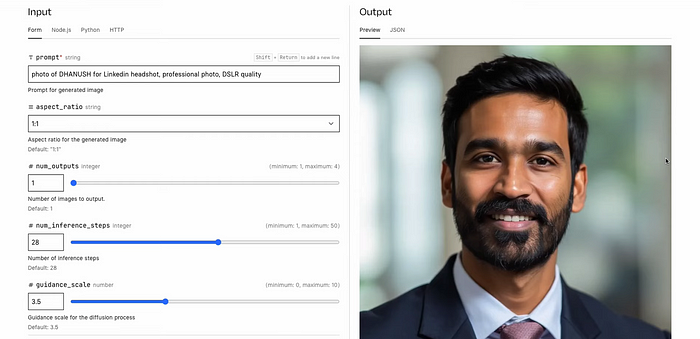
FluxAI models excel at adhering to simple prompts and producing high-quality images even with minimal prompt details.
Additional Use Cases for the FluxAI Model
Training a FluxAI model offers various use cases beyond basic portrait creation:
- Professional Headshots: The model can be used to generate a series of professional headshots for business profiles like LinkedIn.
- Creative Projects: Generate stylized images for creative projects or social media content.
- Artistic Style Transfer: Use the model to replicate different artistic styles for digital artwork or branding purposes.
Note: If you want to use FLUX Lora, Pro, Dev, and Schnell to generate ultra-realistic images for your work. Introducing Anakin Ai an All-In-One AI platform that lets you use every FLUX model commercially for free.


Conclusion
Training an AI model using FluxAI is a straightforward and cost-effective process that unlocks limitless possibilities for generating personalized images. With a minimal investment of time and money, users can create high-quality AI models, customize them according to specific needs, and avoid the costs associated with professional photo services.
This detailed guide provides all the necessary steps for creating a custom AI model, testing it with various platforms, and storing it securely for future use. By following this process, users can train models for both personal and professional projects, ensuring they have a versatile tool at their disposal.
For those looking to delve into AI-generated images and models, this guide serves as a comprehensive resource to get started.
Happy training!


